



In this blogpost:
Ijsbad van een veedrinkbak: een eenvoudige build met specifieke vereisten
Bouw een stock tank ijsbad met eenvoudige tips voor plaatsing, afvoer, isolatie, wateronderhoud, ijsgebruik, comfort, veiligheid en routines voor beginners.
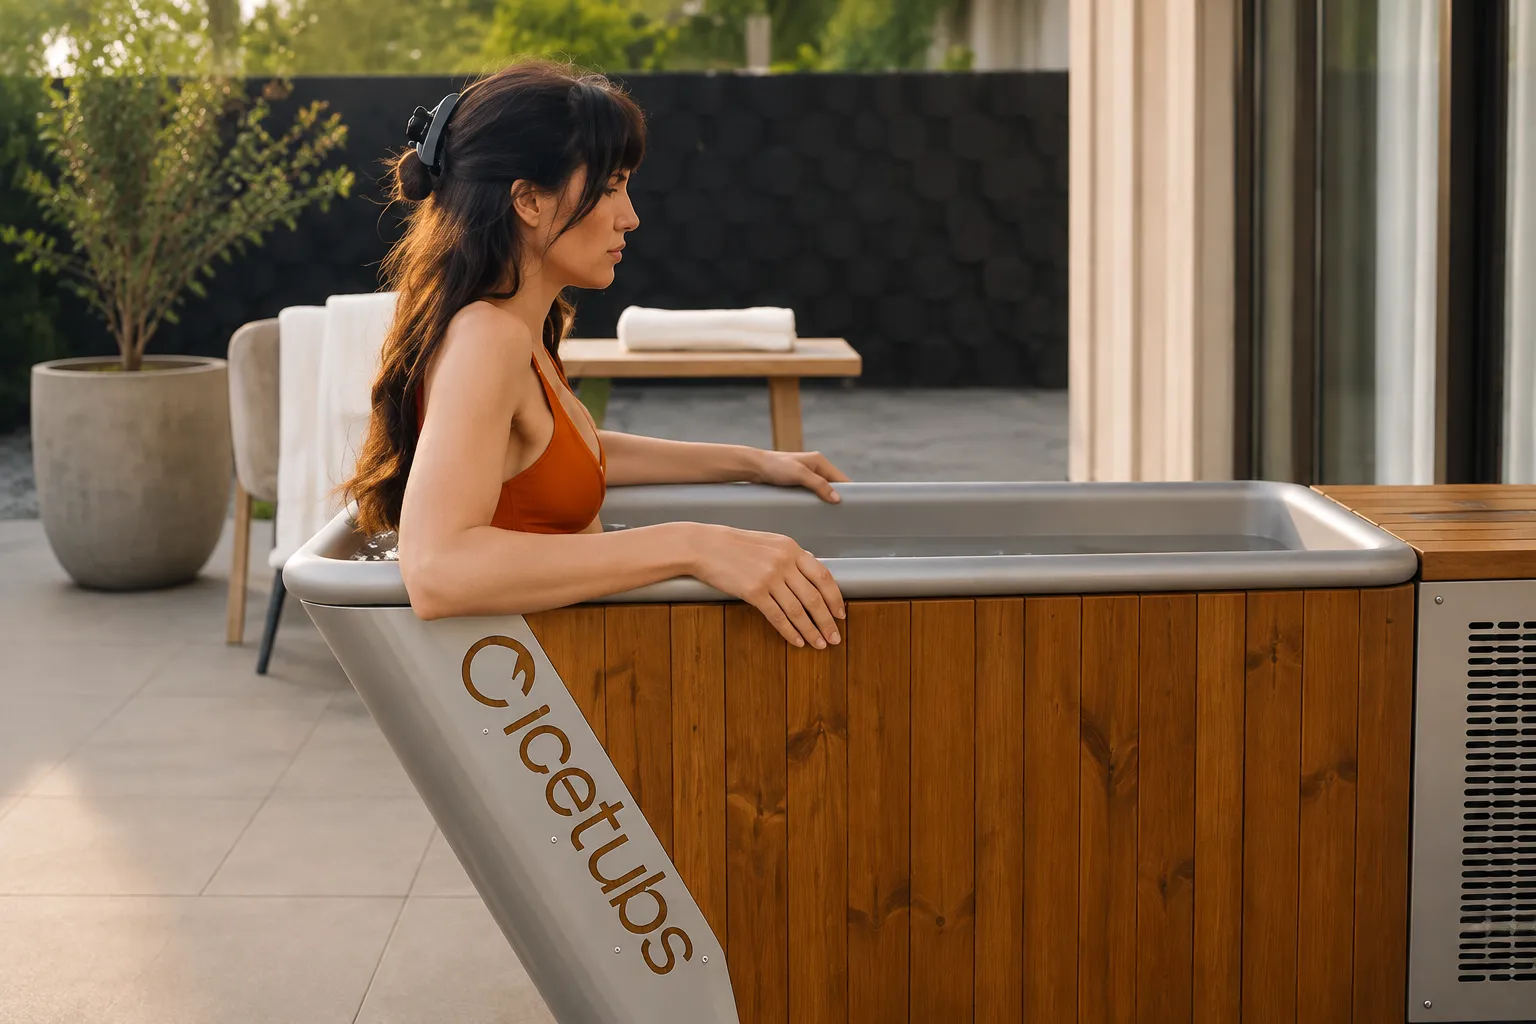
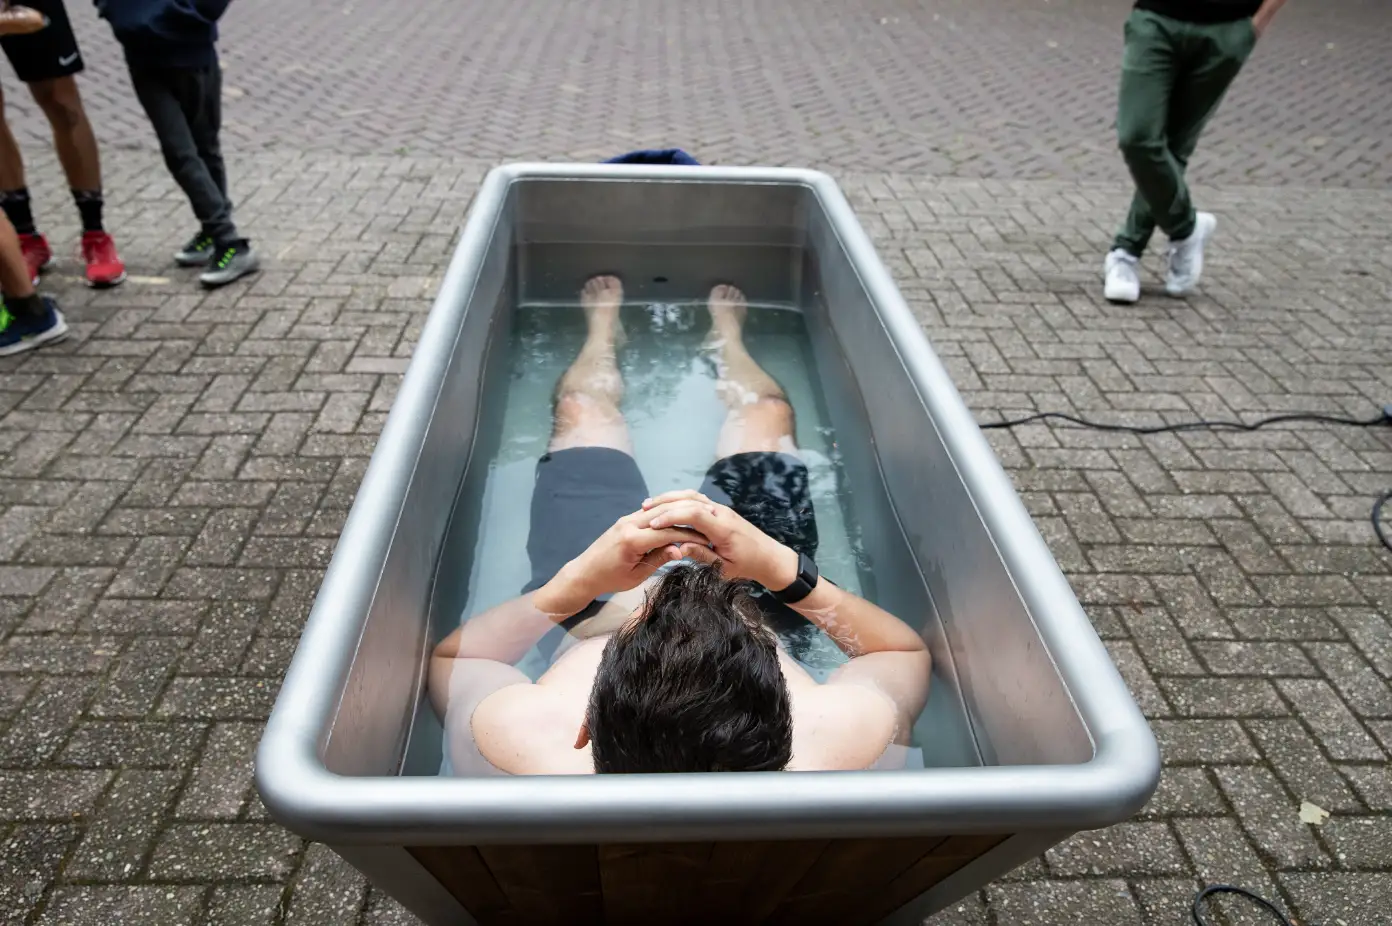
Een stock tank ijsbad heeft een praktische charme.
Het is eenvoudig.
Het is duurzaam.
Het biedt genoeg ruimte om in koud water te zitten zonder dat het bouwen ervan een groot project wordt.
Voor veel mensen is dit de ideale middenweg tussen een ijsbad in de badkuip en een complexere doe-het-zelfopstelling. Je kunt hem buiten plaatsen, vullen met water, ijs toevoegen en beginnen.
Maar eenvoudig betekent niet onderhoudsvrij.
Zodra een stock tank gevuld is, wordt hij zwaar, nat, staat hij bloot aan de elementen en is hij lastiger te verplaatsen. De opstelling vereist een goede locatie, een veilige afvoer, wateronderhoud en een realistisch plan om de routine makkelijk vol te houden.
Kies het juiste formaat
Begin bij het formaat.
Het bad moet ervoor zorgen dat je comfortabel kunt zitten zonder dat je lichaam in een ongemakkelijke houding wordt gedwongen. Als het te ondiep is, word je mogelijk niet voldoende ondergedompeld. Als het te groot is, heb je meer water, meer ijs en meer ruimte nodig dan verwacht.
Meet de beschikbare ruimte op voordat je tot aankoop overgaat.
Denk na over waar je knieën komen te zitten, hoe je in het bad stapt en of je stabiel kunt blijven zitten zodra je erin zit.
Comfort is belangrijk, want koud water is op zichzelf al uitdagend genoeg.
Plaats het op een stevige ondergrond
Een gevuld dompelbad is zwaar.
Plaats het niet op een zwakke vlonder, ongelijkmatige grond of een ondergrond die verschuift als deze nat wordt. Een vlak terras, een betonnen ondergrond, een verstevigd terras of een geprepareerd buitenplatform is vaak geschikter.
Het bad mag niet wiebelen.
Het mag niet kantelen.
Het mag niet langzaam in de grond wegzakken.
Een stabiele ondergrond zorgt ervoor dat het hele ritueel veiliger aanvoelt.
Denk tijdig na over de afvoer
Veedrinkbakken kunnen een grote hoeveelheid water bevatten.
Bepaal voordat je de bak vult hoe je deze weer leeg laat lopen. Als de bak een afvoerstop heeft, zorg er dan voor dat het water veilig weg kan stromen. Als je van plan bent een slang of pomp te gebruiken, controleer dan of de route praktisch is.
Voorkom dat het water richting funderingen, elektrische aansluitingen, gladde looppaden of plekken die modderig kunnen worden, stroomt.
Een goede afvoer is een van de redenen waarom een veedrinkbak op de lange termijn prettig in gebruik blijft.
Voeg ijs geleidelijk toe
De meeste opstellingen met veedrinkbakken maken gebruik van ijs.
Dat betekent dat de temperatuur per sessie kan verschillen. Gebruik een thermometer in plaats van te gokken. Voeg het ijs geleidelijk toe en roer het water door zodat de temperatuur gelijkmatiger wordt.
Als je een beginner bent, begin dan met gematigde kou. Je moet uitgedaagd worden, maar wel in staat blijven om rustig te ademen en veilig uit het water te stappen.
Blootstelling aan kou moet gecontroleerd aanvoelen, niet willekeurig.
Denk aan isolatie
Een metalen voorraadtank kan in de zon snel opwarmen.
Bij kouder weer kan het materiaal ook erg koud aanvoelen. Isolatie kan helpen om de temperatuur constanter te houden.
Je kunt een geïsoleerde afdekking gebruiken, de tank in de schaduw plaatsen of een externe isolatielaag aanbrengen die geschikt is voor vochtige buitenomstandigheden. Zorg er alleen voor dat de isolatie geen vuil water vasthoudt, de afvoer niet blokkeert en het schoonmaken van de tank niet bemoeilijkt.
Houd het water uitnodigend
Buitenopstellingen vangen vuil op.
Bladeren, stof, insecten, pollen, regen en vuil kunnen allemaal in het water terechtkomen. Een afdekking helpt, maar lost niet alles op.
Spoel jezelf af voordat je erin stapt. Houd de tank afgedekt wanneer je hem niet gebruikt. Ververs het water regelmatig. Maak de wanden schoon voordat er zich aanslag vormt.
Als het water niet uitnodigend aanvoelt, zul je het ijsbad niet meer gebruiken.
Bouw het voor herhaaldelijk gebruik
Een ijsbad van een veedrinkbak hoeft niet ingewikkeld te zijn.
Het heeft een stevige ondergrond nodig.
Goede afwatering.
Gecontroleerd ijs.
Schoon water.
Veilige instap.
Warme kleding binnen handbereik.
Dat is voldoende om de routine praktisch uitvoerbaar te maken.
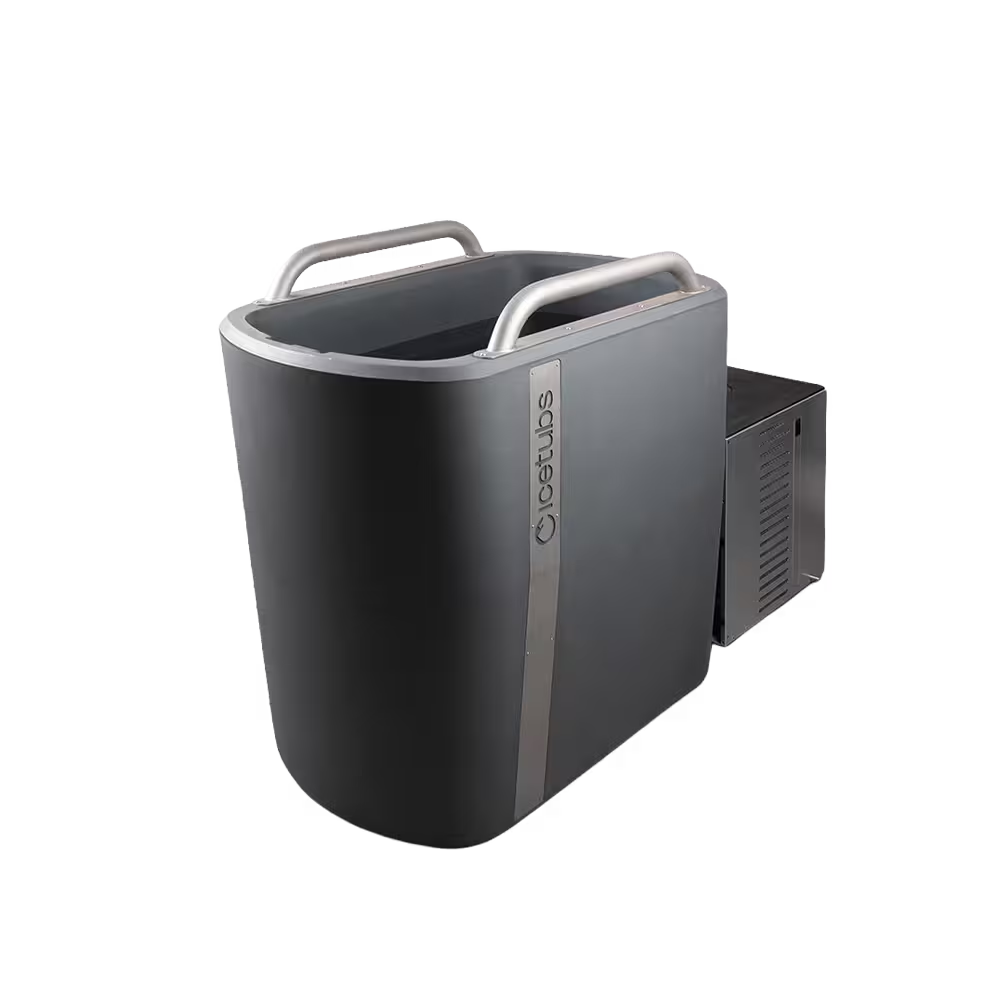
Als je later minder handmatig werk wilt, niet steeds ijs hoeft te halen en een stabielere temperatuurregeling wenst, kun je altijd overstappen van een doe-het-zelfoplossing naar een speciaal Icetubs-systeem.
Vergelijk deze opstelling met andere budgetvriendelijke builds en bekijk Zelf een ijsbad bouwen: de complete gids.