





In this blogpost:
How to Build a DIY Cold Plunge Without Overcomplicating It
Learn how to build a DIY cold plunge at home, from choosing a container and adding ice to drainage, insulation, safety, water care, and upgrade planning.
A DIY cold plunge starts with a simple idea.
You need cold water.
You need a container.
You need a safe way to get in and out.
That simplicity is what makes it appealing. You can try cold exposure without committing to a full cold plunge setup right away. You can test the habit, learn your tolerance, and see whether cold water fits your routine.
But DIY should not mean careless.
A cold plunge still involves water, slippery surfaces, temperature stress, and sometimes electrical equipment. The setup does not need to be expensive, but it does need to be stable, clean, and safe enough to use repeatedly.
Start with the Container
Your container sets the limit for the whole build.
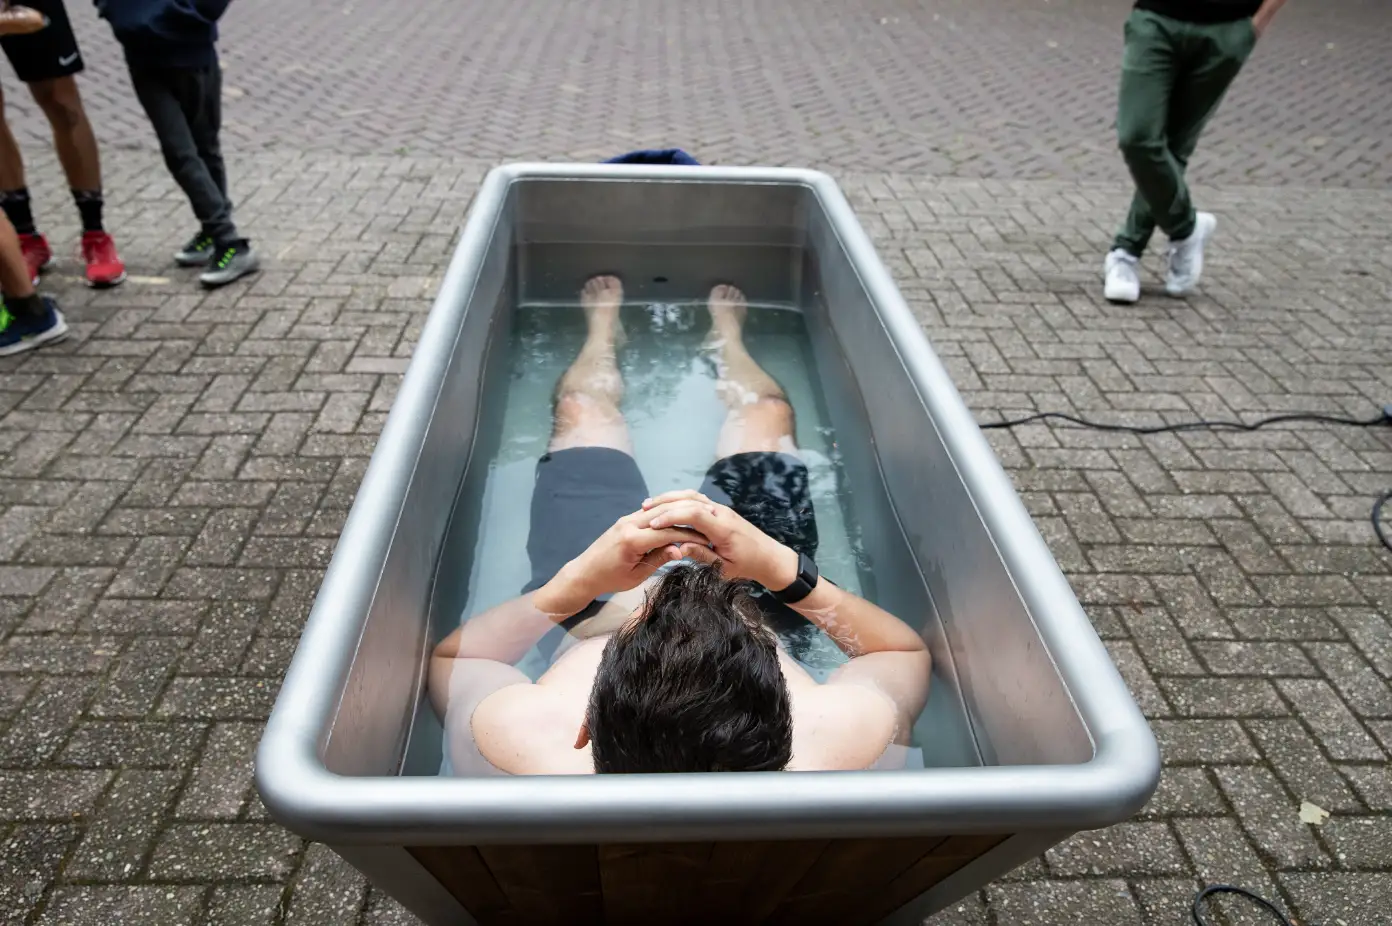
A bathtub is the easiest starting point. A portable tub is flexible. A stock tank is durable and spacious. A chest freezer can hold temperature well, but it adds more safety and electrical considerations.
Choose based on your space, budget, and how often you plan to plunge.
If you only want to try cold exposure once or twice, a bathtub or basic tub may be enough. If you want a more regular outdoor setup, a stock tank may make more sense. If you are thinking about a chest freezer conversion, be ready for extra planning.
The container should be strong, stable, and comfortable enough to enter without awkward movement.
Use Ice with Control
Most DIY cold plunges rely on ice.
That makes the setup simple, but it also makes temperature less predictable. One session may feel manageable. Another may become too cold because you added more ice than usual.
Use a thermometer instead of guessing.
For beginners, moderate cold is usually enough. You should feel challenged, but still able to breathe steadily and leave the water safely. The goal is not to make the water as cold as possible. The goal is to build a routine you can repeat.
Plan Drainage Before You Fill It
Drainage is easy to ignore until the container is full.
A DIY cold plunge can hold a lot of water, and that water needs somewhere to go. Before filling the tub, decide how you will empty it.
Will you use a drain plug?
Will you attach a hose?
Will the water run outdoors?
Will the floor become slippery?
Good drainage keeps the setup easier to maintain. It also protects your space from water damage, mud, or standing water.
Keep the Water Clean
Water care is one of the biggest DIY challenges.
Without a chiller, filtration, or circulation, the water may need more frequent changing. Sweat, skin oils, dirt, leaves, and dust can build up quickly.
Keep the routine simple. Rinse before entering. Cover the tub when not in use. Refresh the water regularly. Clean the inside before buildup becomes harder to remove.
If the water looks cloudy, smells unpleasant, or feels dirty, change it.
Be Careful with Electricity
DIY builds become more serious when electricity enters the setup.
This may include a chest freezer, pump, chiller, timer, or extension cord. Water and electricity should never be treated casually, especially when your body is wet.
Keep plugs and cords away from splash zones. Use proper electrical protection. Do not improvise wiring. Speak with a qualified electrician when needed.
A budget setup is only worthwhile if it is safe.
Know When DIY Stops Feeling Practical
A DIY cold plunge can be a great starting point.
But if you plunge often, the manual work becomes clearer. You may need to buy ice, wait for the water to cool, clean more often, drain more often, and keep checking temperature.
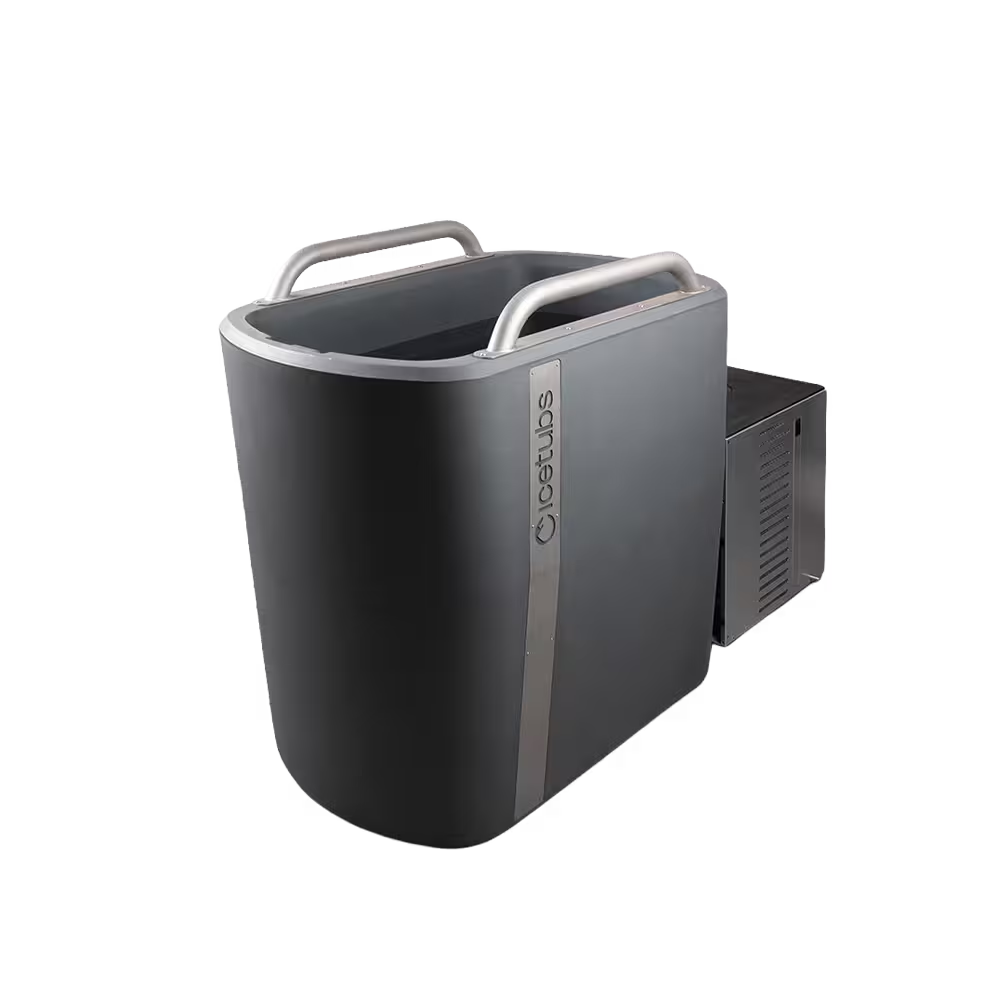
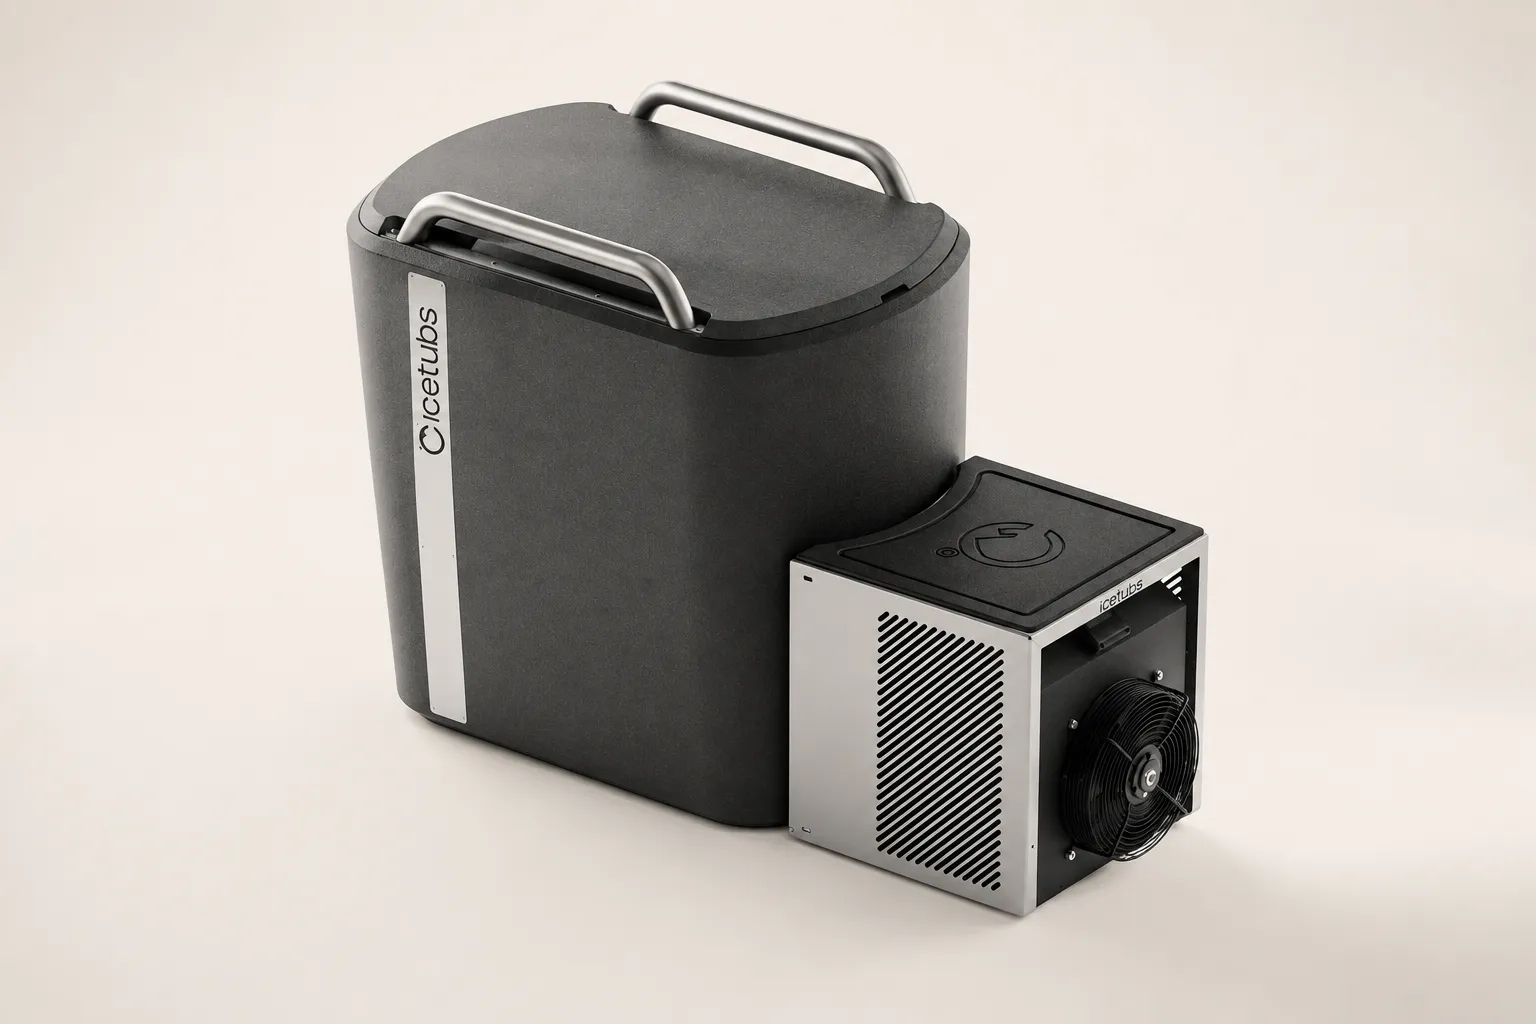
That is where a dedicated Icetubs system can make more sense. It removes the need for repeated ice runs and gives you a more consistent cold plunge routine over time.
Build for the Habit
A good DIY cold plunge does not need to look impressive.
It needs to be stable.
It needs to be clean.
It needs to be safe.
It needs to be easy enough to repeat.
Start simple. Measure temperature. Keep sessions short. Plan drainage. Respect electrical safety. Maintain the water.
The best setup is not always the most advanced one. It is the one that helps you practise cold exposure with less friction and more awareness.