



In this blogpost:
Ideen zur Isolierung Ihres DIY-Eisbads, damit das Wasser länger kalt bleibt
Entdecken Sie DIY-Ideen zur Isolierung Ihres Eisbads, damit das Wasser länger kalt bleibt, Sie weniger Eis verbrauchen, Ihr Becken schützen und den Komfort bei der Nutzung im Freien oder zu Hause erhöhen.
Eine Isolierung kann die Nutzung eines DIY-Eisbads deutlich erleichtern.
Ohne Isolierung erwärmt sich das Wasser schnell. Das bedeutet mehr Eis, längere Wartezeiten und mehr Aufwand vor jeder Anwendung. Wenn Ihr Becken im Freien steht, beeinflussen Sonnenlicht, Wind, Bodentemperatur und Lufttemperatur maßgeblich, wie lange das Wasser kalt bleibt.
Ein wenig Isolierung macht aus einem DIY-Projekt zwar kein professionelles Eisbad.
Aber es macht Ihr Setup effizienter, komfortabler und deutlich unkomplizierter.
Beginnen Sie mit dem Deckel
Der Deckel ist meist der einfachste Ausgangspunkt.
Über die Wasseroberfläche geht viel Kälte verloren, besonders wenn das Becken im Freien steht oder der Sonne ausgesetzt ist. Eine einfache Abdeckung hält Schmutz fern, verlangsamt die Erwärmung und sorgt dafür, dass das Wasser zwischen den Anwendungen sauberer bleibt.
Sie können eine isolierte Abdeckung, einen passgenauen Deckel, eine Plane mit darunter liegender Dämmung oder eine zugeschnittene Schaumstoffplatte verwenden.
Die Abdeckung sollte leicht abnehmbar, aber so sicher befestigt sein, dass sie nicht vom Wind weggeweht wird.
Schatten macht einen großen Unterschied
Der Standort ist Teil der Isolierung.
Ein Becken in der prallen Sonne erwärmt sich schneller als eines im Schatten. Wenn Sie die Wahl haben, wählen Sie eine schattige Ecke, eine überdachte Terrasse, eine Garage oder einen Außenbereich mit weniger Sonneneinstrahlung.
Schatten trägt zudem dazu bei, die Materialien langfristig vor Sonnenschäden zu schützen.
Wenn es wenig Schatten gibt, können Sie einen Sonnenschirm, ein Sonnensegel, einen Sichtschutz oder eine einfache Überdachung anbringen. Achten Sie nur darauf, dass der Bereich gut belüftet bleibt und keine Probleme mit dem Wasserabfluss entstehen.
Die Seiten isolieren
Auch über die Seitenwände des Behälters kann Wärme eindringen.
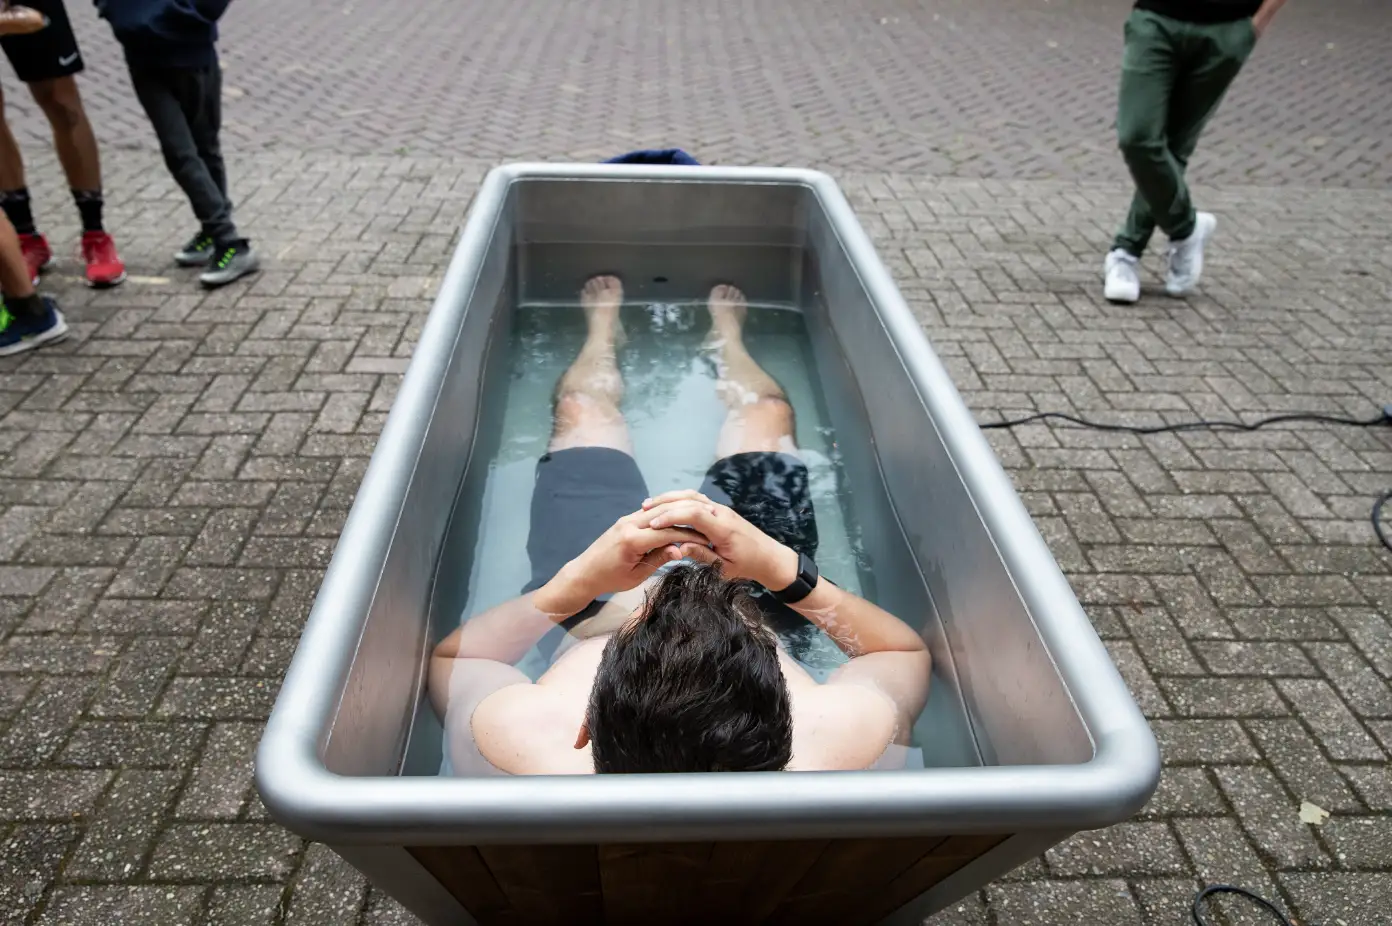
Dies gilt besonders für Viehtränken aus Metall und dünnwandige Kunststoffbecken. Sie können die Außenseite mit feuchtigkeitsbeständiger Isolierung, Schaumstoffplatten, reflektierender Dämmfolie oder einer isolierenden Schutzhülle für den Außenbereich versehen.
Wichtig ist, dass sich zwischen der Isolierung und dem Becken kein Wasser staut.
Eingeschlossene Feuchtigkeit kann zu Schimmelbildung, Gerüchen oder Materialschäden führen. Jede Isolierung sollte daher abnehmbar oder leicht zu überprüfen sein.
Denken Sie an den Untergrund
Der Untergrund unter dem Becken ist entscheidend.
Beton, Terrassendielen, Gras oder Fliesen beeinflussen den Aufbau jeweils anders. Ein dünnwandiger Behälter auf warmem Boden kann schneller Wärme aufnehmen. Ein Becken auf kaltem Untergrund kann sich im Winter kälter anfühlen.
Ein stabiler Untergrund mit einer Isolierschicht kann helfen, muss aber dennoch das volle Gewicht des Wassers tragen können.
Verwenden Sie kein weiches Material, das ungleichmäßig nachgibt oder das Becken instabil macht.
Sicherheit geht vor Temperaturerhalt.
Eis effizienter nutzen
Eine Isolierung sorgt dafür, dass Ihr Eis länger hält.
Aber auch die Art und Weise, wie Sie das Eis verwenden, spielt eine Rolle. Geben Sie das Eis nach und nach hinzu, rühren Sie das Wasser um und prüfen Sie die Temperatur, bevor Sie einsteigen. Decken Sie das Becken nach dem Abkühlen ab, damit die Temperatur besser gehalten wird.
Wenn Sie täglich zur gleichen Zeit baden, werden Sie schnell herausfinden, wie viel Eis Ihr Setup normalerweise benötigt.
Das macht die Routine einfacher wiederholbar.
Praktische Zugänglichkeit bewahren
Die Isolierung sollte die Nutzung des Beckens nicht erschweren.
Wenn die Abdeckung zu schwer ist, werden Sie sie vielleicht nicht mehr benutzen. Wenn die seitliche Isolierung den Abfluss blockiert, wird die Wartung mühsam. Wenn der Aufbau zu sperrig wird, kann der Ein- und Ausstieg unsicherer wirken.
Eine gute Isolierung sollte Ihre Gewohnheit unterstützen, nicht verkomplizieren.
Halten Sie das Design so einfach, dass es sich problemlos in den Alltag integrieren lässt.
Wann Isolierung nicht ausreicht
Isolierung kann das Erwärmen verlangsamen, kühlt das Wasser jedoch nicht aktiv.
Wenn Sie regelmäßig baden und eine konstante Kälte ohne ständiges Eis wünschen, reicht eine Isolierung allein möglicherweise nicht aus. Vielleicht ziehen Sie dann ein Kühlgerät in Betracht oder möchten über eine DIY-Lösung hinausgehen.
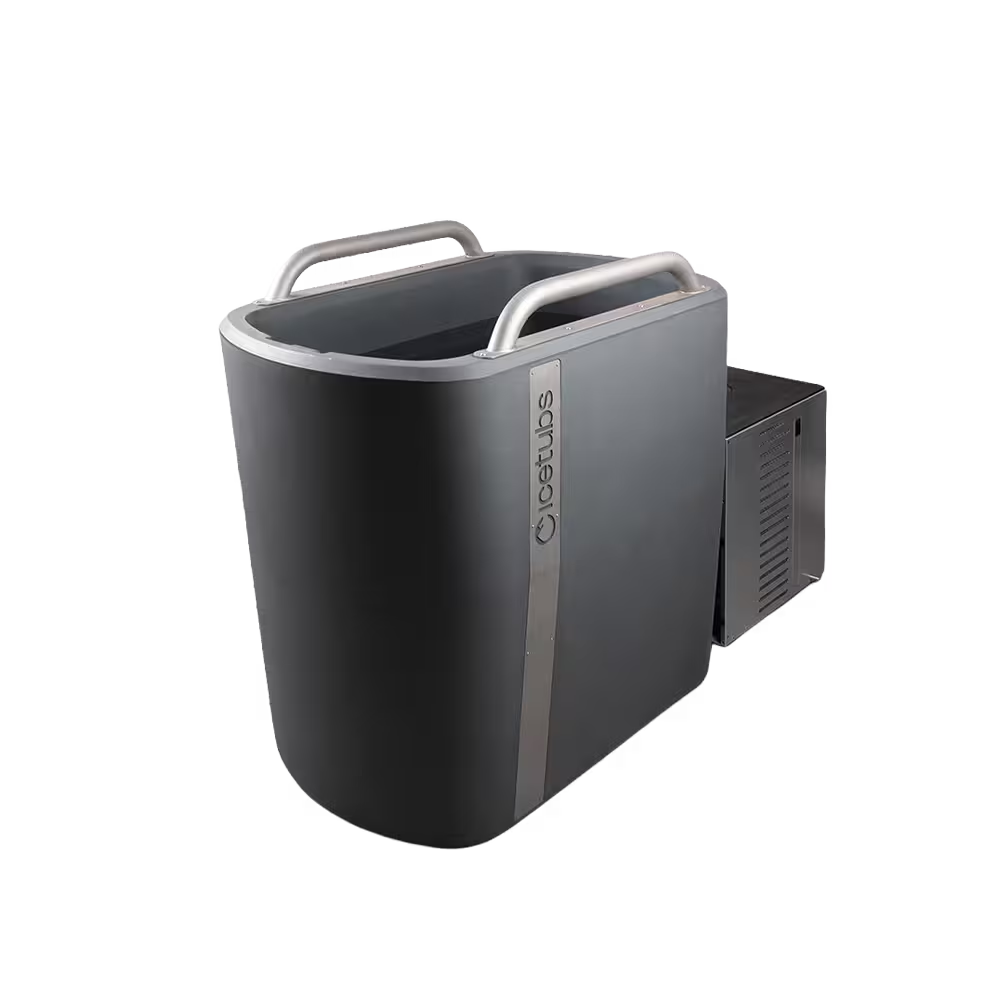
Genau hier bietet ein Icetubs-System einen anderen Komfort: Die Kälte wird vom System reguliert – ganz ohne Schattenplätze, Abdeckungen oder ständige Kontrollen des Eisvorrats.
Weniger Aufwand bei der Konstruktion
Bei der Isolierung geht es nicht um Perfektion.
Sondern darum, die Routine zu erleichtern.
Ein besserer Deckel, ein schattiger Standort, eine seitliche Ummantelung und ein stabiler Untergrund helfen dabei, dass Ihr DIY-Eisbad länger kalt bleibt und die Wartung weniger Mühe bereitet.
Für eine praxisorientierte Planung nutzen Sie Anleitung zum Bau eines DIY-Eisbads: Der komplette Leitfaden als Ausgangspunkt.