





In this blogpost:
Troubleshooting a Cold Plunge Chiller: What to Check First
Troubleshoot cold plunge chiller problems with tips on cooling issues, pump flow, filters, temperature sensors, airflow, leaks, noise, and maintenance checks.
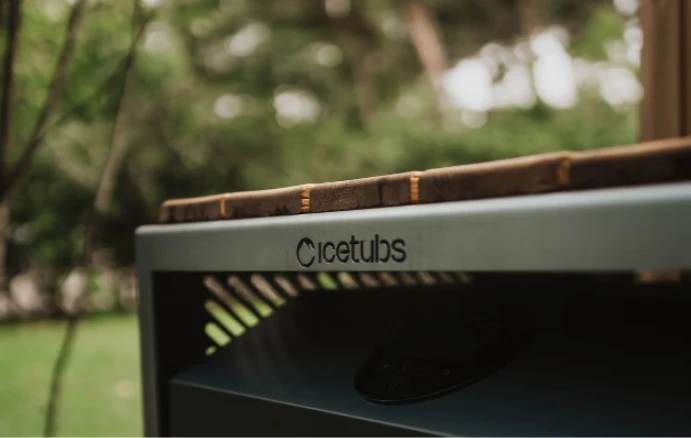
A cold plunge chiller can make the routine easier.
Until something feels off.
Maybe the water is not getting cold enough. Maybe cooling takes too long. Maybe the pump sounds different. Maybe the temperature reading looks wrong.
Before assuming the system is broken, it helps to check the basics.
Many chiller problems start with flow, filters, placement, settings, or maintenance.
Check the Temperature Setting
Start simple.
Make sure the target temperature is set correctly. If the setting was changed by accident, the chiller may be doing exactly what it was told to do.
Also check the current water temperature with a separate thermometer if needed.
This helps you understand whether the issue is cooling performance or just a display reading that needs confirmation.
Look at Water Flow
Cooling depends on circulation.
If water is not moving properly, the chiller cannot cool the tub evenly. Weak flow may come from a clogged filter, blocked tubing, air in the line, pump issues, or a partially closed valve.
Look for changes in movement.
Is water returning to the tub normally?
Does the pump sound strained?
Are there bubbles or unusual vibration?
Poor flow can make the whole system feel weaker.
Inspect the Filter
A dirty filter can reduce performance.
As the filter collects particles, water may move through it more slowly. That can affect cooling, circulation, and system pressure.
If the water is cooling slower than usual, check whether the filter needs cleaning or replacement.
Regular filter care is one of the simplest ways to prevent chiller frustration.
Check Airflow Around the Chiller
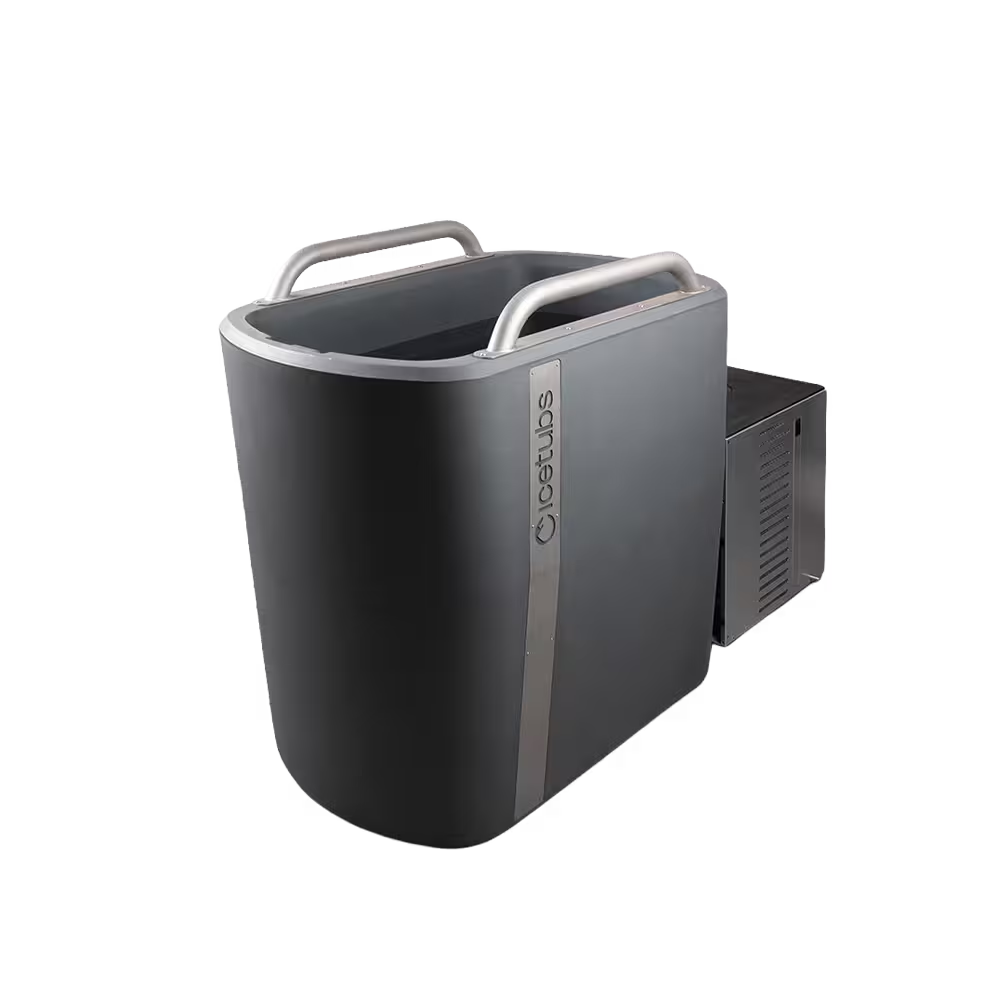
A chiller needs to release heat.
If the unit is pushed against a wall, boxed in, covered, or placed somewhere with poor ventilation, it may struggle to cool effectively.
Move anything blocking airflow. Make sure the unit has enough space around it. Keep leaves, dust, or debris away from ventilation areas.
Sometimes the problem is not inside the chiller.
It is around it.
Look for Leaks or Loose Connections
Small leaks can create bigger issues.
Check tubing, fittings, drain points, and connection areas. Make sure nothing is loose, cracked, kinked, or dripping.
A leak may reduce water level, affect flow, or create unsafe wet areas near electrical components.
Do not ignore water where it should not be.
Listen for New Sounds
Noise changes can be useful clues.
A pump that suddenly sounds louder, rougher, or inconsistent may be struggling with air, blockage, or flow restriction. A chiller that runs longer than usual may be working harder because of heat, dirty filters, or poor placement.
You do not need to diagnose everything immediately.
But you should notice changes early.
Consider the Weather
Outdoor setups are affected by conditions.
Hot weather, direct sun, and warm flooring can make cooling harder. Cold weather can create other maintenance concerns. Rain and poor drainage can affect the area around the unit.
If the chiller performs differently by season, placement and protection may need adjustment.
Know When to Get Support
Some checks are simple. Others are not.
You can inspect filters, airflow, settings, and visible connections. But internal electrical, refrigerant, or mechanical problems should be handled by qualified support.
Do not open or modify components unless you are trained to do so.
Troubleshooting should make the setup safer, not riskier.
For the complete chiller setup framework, return to Cold Plunge Chillers: Complete Buyer’s & Setup Guide.