





In this blogpost:
Cold Plunge Tub Setup: How to Prepare Your Space
Learn how to set up a cold plunge tub at home, from placement and drainage to power, accessories, safety checks, comfort, care, and maintenance planning.
A cold plunge routine begins before the water turns cold.
It begins with the space.
Where the tub sits, how easy it is to enter, where the water drains, and how close the power source is can all shape the experience. A good setup should feel calm, practical, and safe. It should support the ritual, not make it harder to repeat.
Cold plunging is already a strong practice. The space around it should make everything feel simpler.
Start with the Right Location
Before choosing accessories or thinking about temperature, decide where the tub will live.
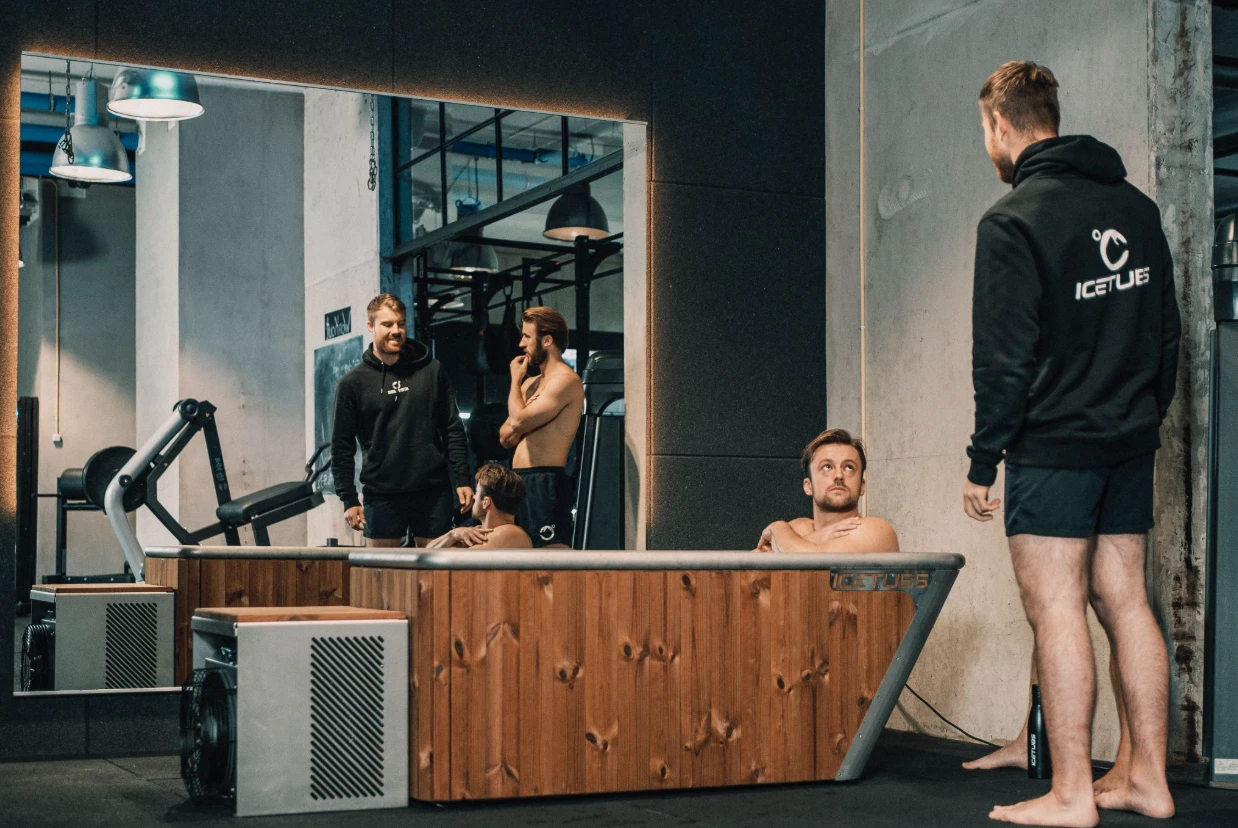
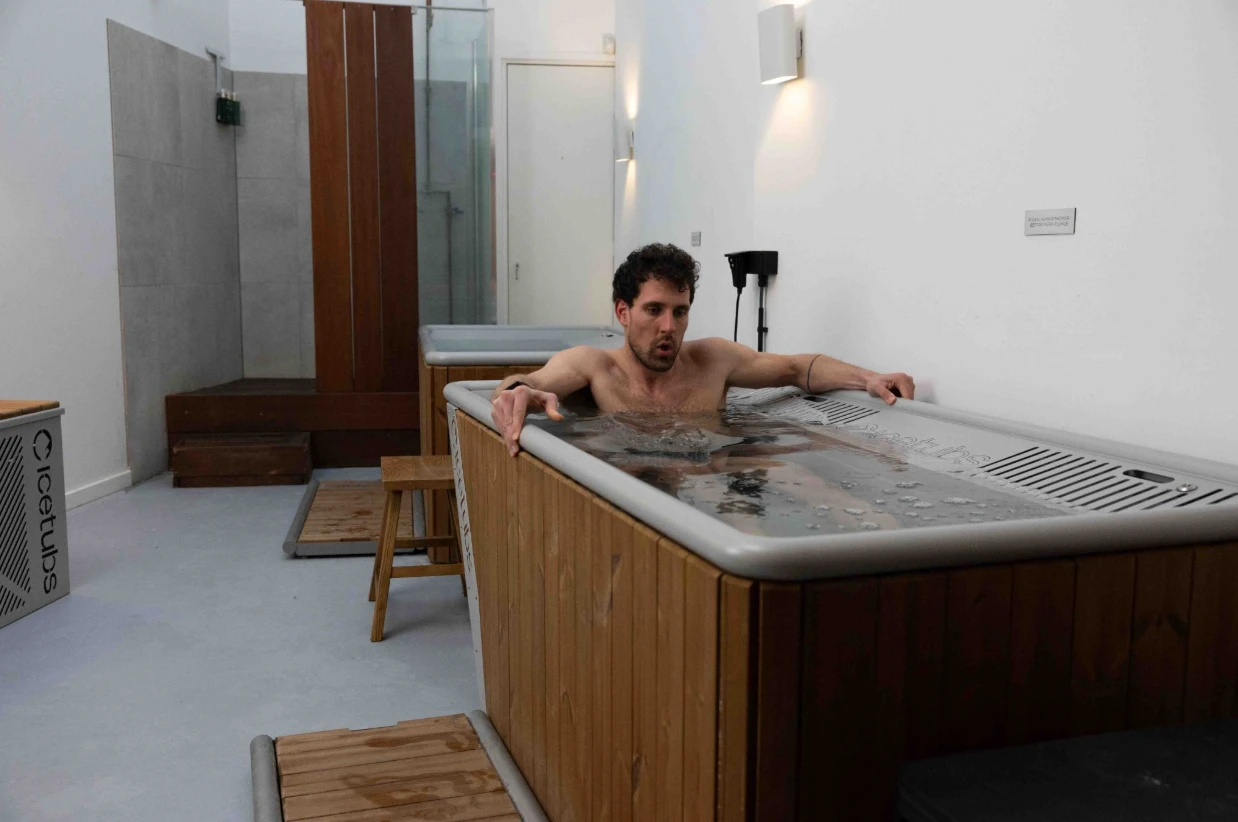
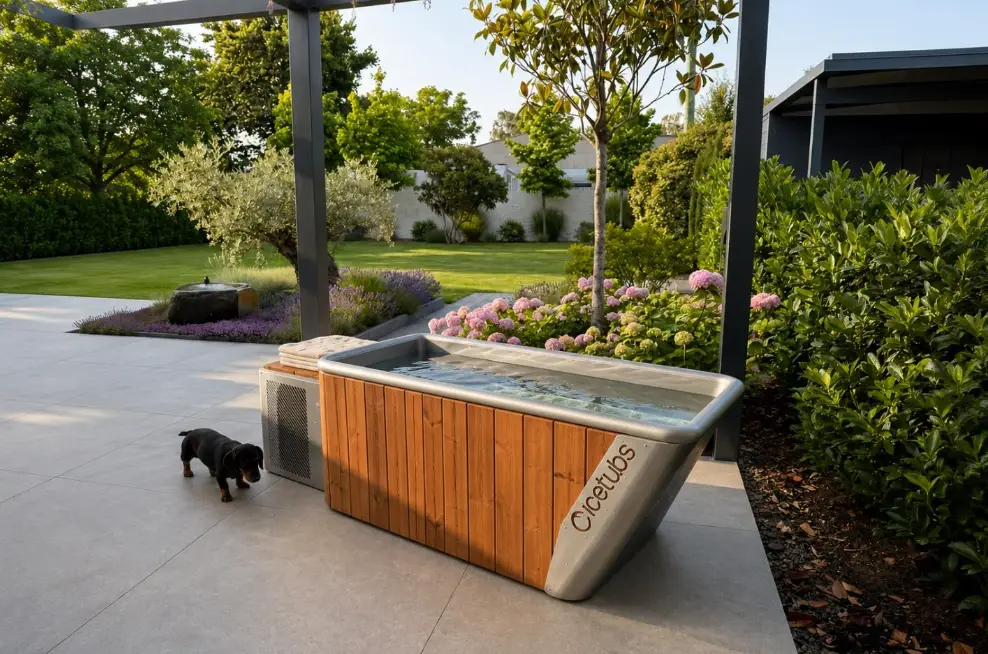
Some people prefer an indoor wellness room, bathroom, garage, or home gym. Others place the tub outdoors on a terrace, patio, or garden deck. Both can work, but each setting has different needs.
Indoors, think about ventilation, flooring, water splashes, and drainage. Outdoors, think about shade, weather exposure, privacy, and how easy it is to reach the tub in daily use.
The right location is not only the most beautiful one. It is the one you can use consistently.
Check the Surface and Weight
A cold plunge tub becomes heavy once filled with water.
The surface underneath should be flat, stable, and strong enough to support the tub, the water, and the person using it. This is especially important for upper floors, balconies, timber decking, or indoor areas not designed for heavy water-filled equipment.
If you are unsure about floor strength, ask a professional before installing the tub.
A stable base also helps the tub feel safer when entering and exiting.
Plan Power and Water Access
Electric cold plunge systems may need a proper power connection. Do not treat this as a minor detail.
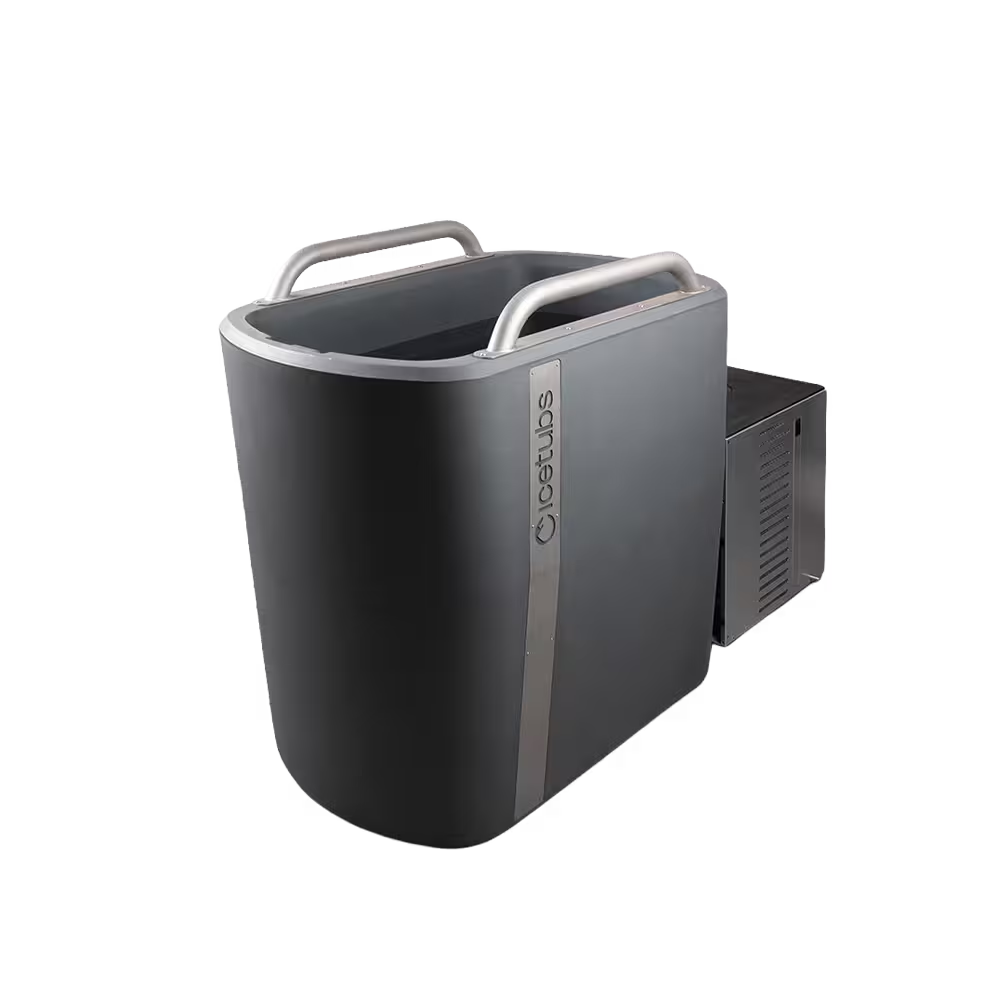
For example, some Icetubs models are designed for indoor and outdoor use without fixed plumbing, making placement more flexible for home wellness spaces.
Even with a simpler setup, the power source still needs to be safe, grounded, and suitable. If there is any doubt, speak with an electrician before plugging anything in.
Water access also matters. You need to fill the tub, drain it when needed, and clean around it without making the area messy.
Think About Drainage Early
Drainage is easy to forget until the first water change.
Before setting up the tub, decide where the water will go. Indoors, this may mean placing the tub near a drain or planning a hose route. Outdoors, it may mean making sure water drains away from the house, electrical points, and delicate surfaces.
Good drainage protects the space and makes maintenance feel less stressful.
A setup that is easy to drain is easier to keep clean.
Make Entry and Exit Comfortable
The cold plunge experience should feel controlled from beginning to end.
Leave enough room around the tub for safe movement. Keep towels, warm clothing, and steps within reach. Use a non-slip surface where water may splash.
Entry and exit matter because the body may feel cold, alert, or slightly unsteady after the session. The area should help you move slowly and confidently.
Add the Essentials
The best accessories are the ones that reduce friction.
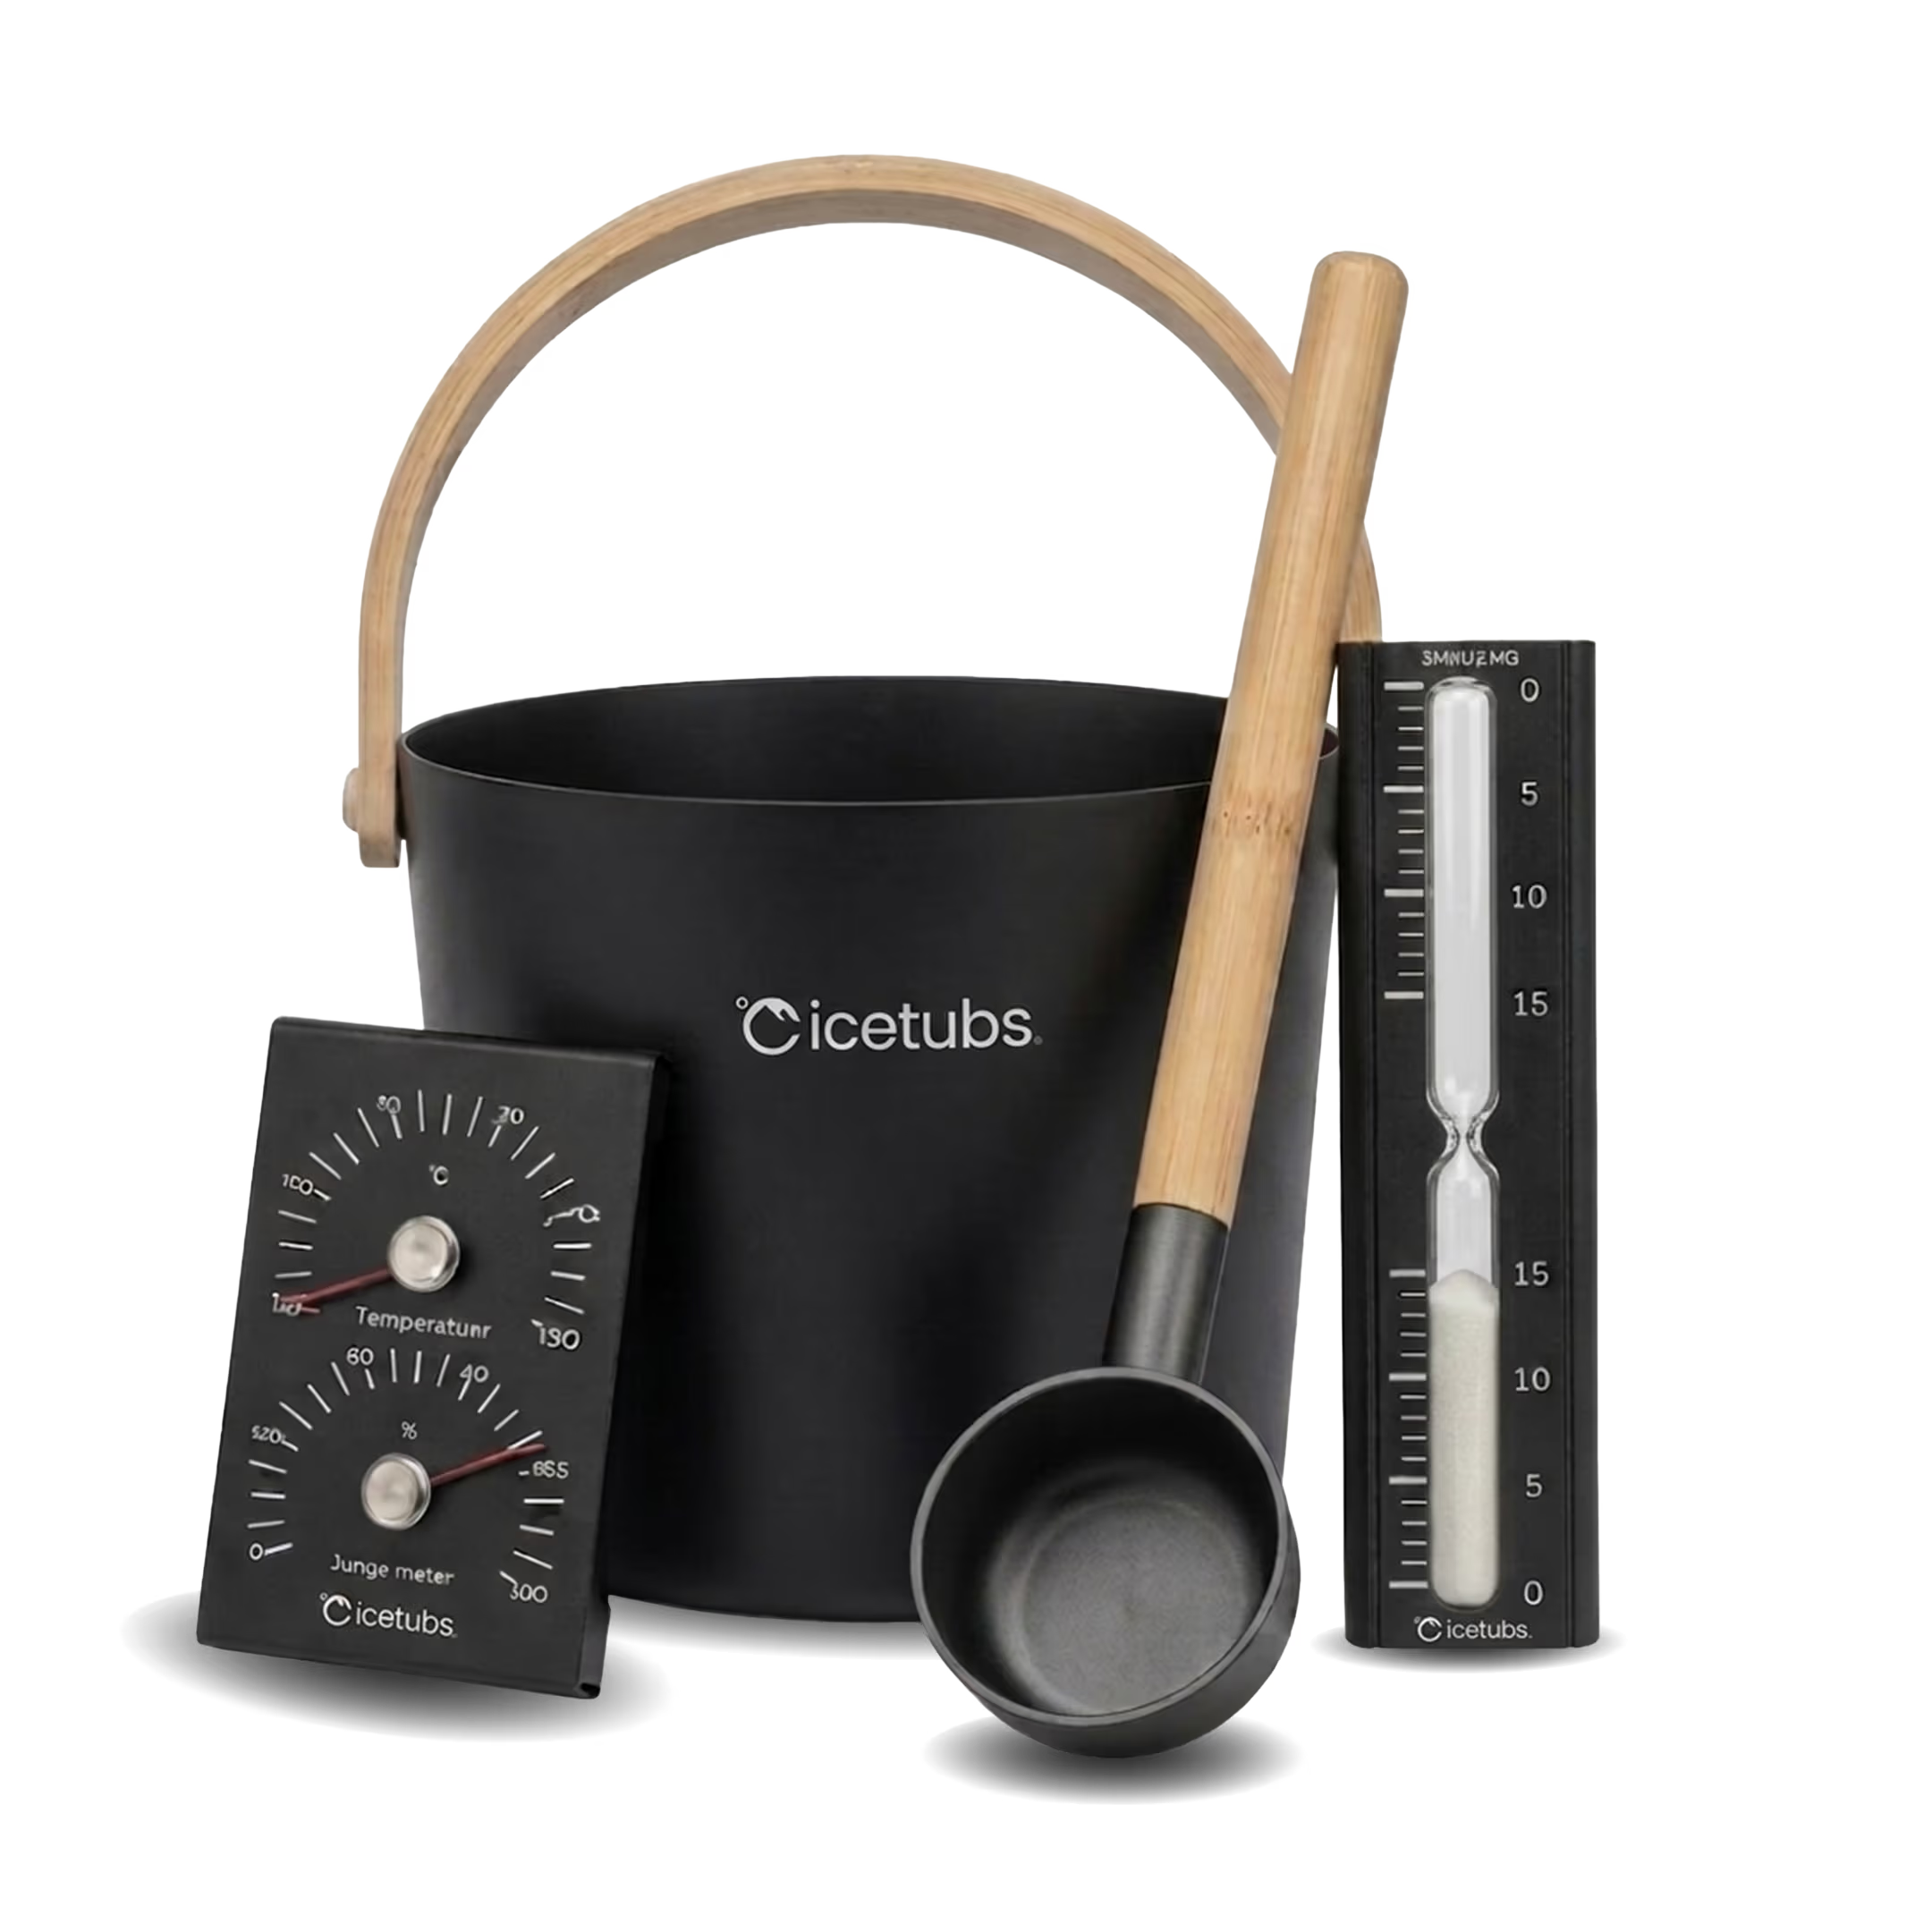
A cover helps protect the water from debris and can support insulation. Filters help with water clarity. Steps can make access easier. A towel hook, robe, or small bench can make the whole routine feel more complete.
Accessories should not clutter the space. They should make the ritual smoother.
Build a Setup You Will Use
A cold plunge tub should not feel like a project every time you use it.
Choose a location that is easy to reach. Make drainage simple. Keep the power safe. Prepare the floor. Place accessories where they are useful.
The best installation is not only technically correct. It is also easy to return to.
A well-planned setup turns cold water into a routine, not an obstacle.