


In this blogpost:
Tina de inmersión en frío para el hogar: lo que necesitas saber
¿Planeas instalar una tina de inmersión en frío en interiores? Consulta esta lista de verificación esencial sobre la capacidad de carga del suelo, los requisitos eléctricos y la ventilación para una instalación segura.

Decidir instalar una tina de inmersión en frío en casa es un paso emocionante hacia una mejor rutina de recuperación. Sin embargo, antes de hacer clic en el botón de compra, hay varios aspectos logísticos fundamentales que van más allá de simplemente encontrar un rincón en tu gimnasio.
Desde la capacidad de carga del suelo hasta los requisitos eléctricos, aquí tienes la lista de verificación esencial para asegurar que tu instalación en casa sea segura, eficiente y duradera.
1. Soporte estructural: ¿Es tu suelo lo suficientemente resistente?
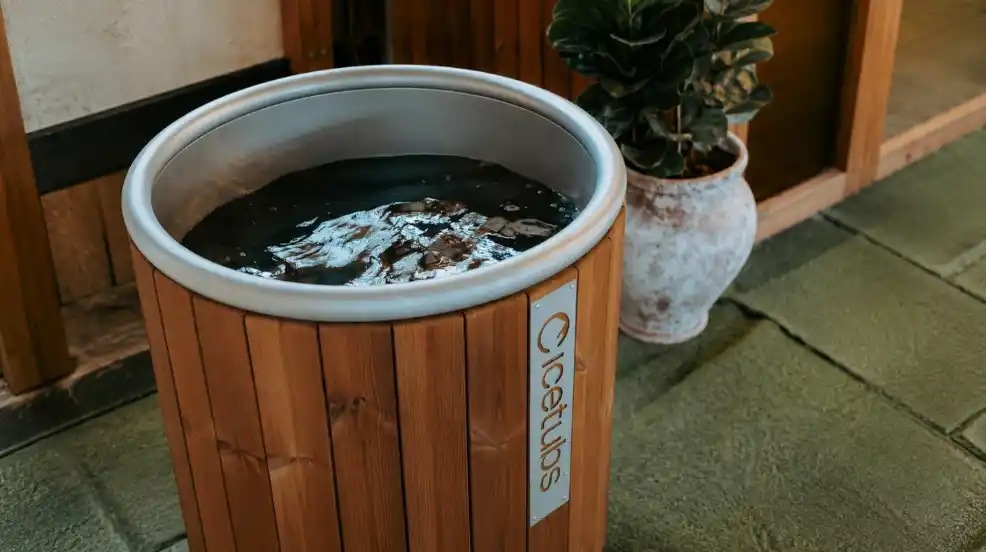
Esta es la consideración técnica más crítica. Una tina de inmersión en frío estándar, cuando está llena, es significativamente más pesada de lo que parece.
El agua pesa aproximadamente 1 kg por litro. Una tina de tamaño mediano con 400 litros, sumada al peso de la unidad y a una persona de 90 kg, puede ejercer fácilmente una carga de 550 kg a 650 kg sobre una superficie muy pequeña.
- Suelos de hormigón (garaje/sótano): Por lo general, no representan ningún problema.
- Terrazas de madera o pisos superiores: Es posible que necesites una consulta estructural para asegurar que las vigas puedan soportar la carga puntual concentrada.
2. Requisitos eléctricos: piensa en el circuito
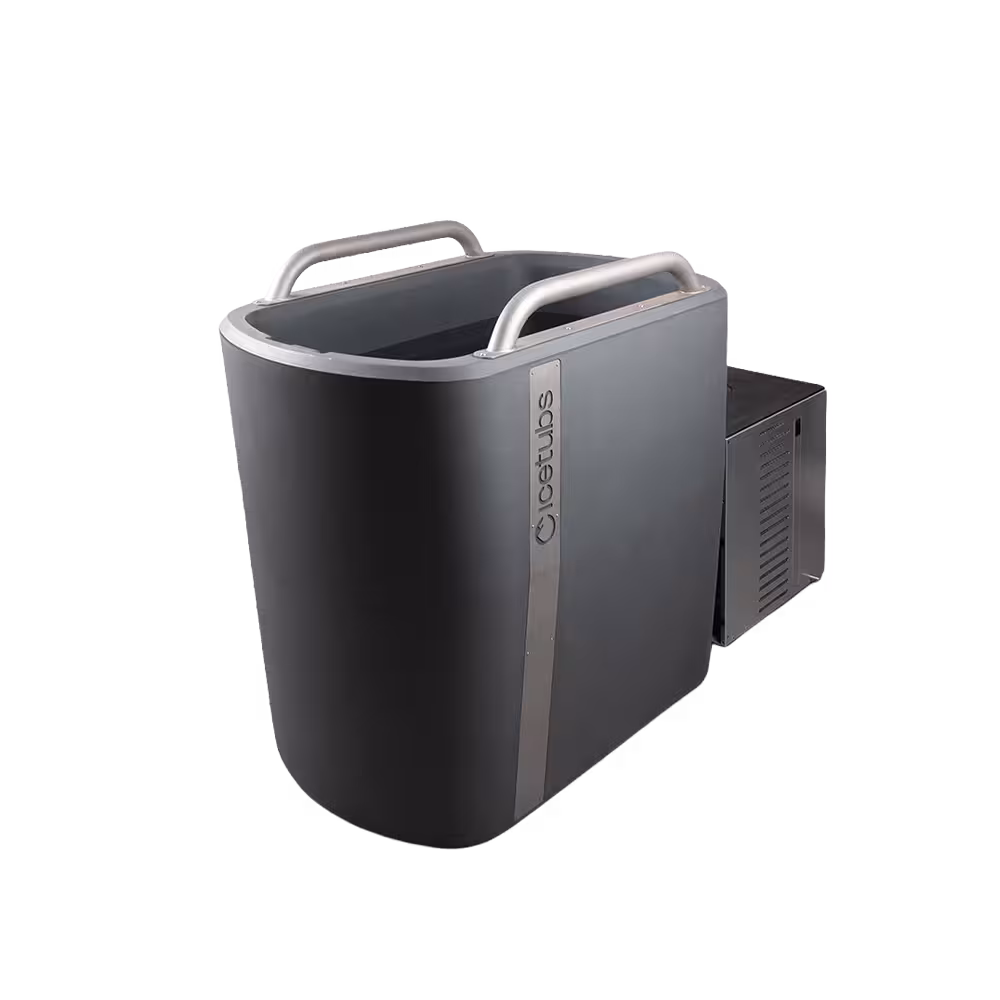
Una tina de inmersión en frío moderna no es solo una tina; es una máquina. El enfriador, que mantiene el agua a unos frescos 3 °C, requiere un suministro eléctrico constante.
- Conectar y usar: La mayoría de las unidades residenciales funcionan con un enchufe estándar de 110v o 220v (según tu región).
- Circuito dedicado: Para evitar que el disyuntor se dispare, se recomienda encarecidamente que el enfriador cuente con su propio circuito dedicado, especialmente si tienes otros electrodomésticos de alto consumo (como una cinta de correr o una sauna) cerca.
- Protección GFCI: La seguridad es lo primero. Asegúrese siempre de que su toma de corriente cuente con protección GFCI para evitar descargas eléctricas en entornos húmedos.
3. Ventilación y temperatura ambiente
Si va a instalar su bañera en interiores, recuerde que un enfriador funciona como un aire acondicionado a la inversa: extrae el calor del agua y lo expulsa hacia la habitación.
- Flujo de aire: Sin una ventilación adecuada, la habitación puede volverse cálida y húmeda, lo que obliga al enfriador a trabajar más y consumir más energía.
- Espacio: Evite colocar la unidad de enfriamiento en un armario cerrado y estrecho. Déjele al menos 30-50 cm de espacio libre por todos sus lados para que pueda "respirar".
4. Gestión del agua: llenado y vaciado
No necesitará cambiar el agua a diario gracias a su filtración avanzada, pero sí deberá vaciarla eventualmente (normalmente cada 3 a 6 meses, dependiendo del uso).
- El llenado: Asegúrese de que su instalación esté al alcance de una manguera de jardín estándar.
- El vaciado: Compruebe dónde se encuentra la válvula de drenaje de la unidad. Es recomendable que esté cerca de un desagüe en el suelo o que tenga un camino despejado para extender una manguera hacia el patio o una salida de desagüe.
5. Control de humedad
Sumergirse con frecuencia implica cuerpos y toallas mojadas. Con el tiempo, esto puede provocar acumulación de humedad en habitaciones pequeñas. Si va a instalar su bañera de inmersión en frío en una habitación libre o en un sótano, considere añadir un pequeño deshumidificador o un extractor de aire para mantener el ambiente fresco y evitar la aparición de moho.
Resumen
Instalar una bañera de inmersión en frío en casa es sencillo si tiene en cuenta el peso y la necesidad de "ventilación" del equipo. Una vez cubiertos estos aspectos básicos, el mantenimiento será mínimo y podrá disfrutar de una recuperación inmediata.
¿No sabe qué modelo se adapta mejor a su espacio? Lea nuestra Guía completa de tinas de inmersión en frío para uso doméstico para una comparación más detallada de tamaños y especificaciones.