





In this blogpost:
How to Add a Chiller to a DIY Cold Plunge Without Guesswork
Learn how to add a chiller to a DIY cold plunge, including pump flow, tubing, filtration, placement, electrical safety, cleaning, and setup planning.
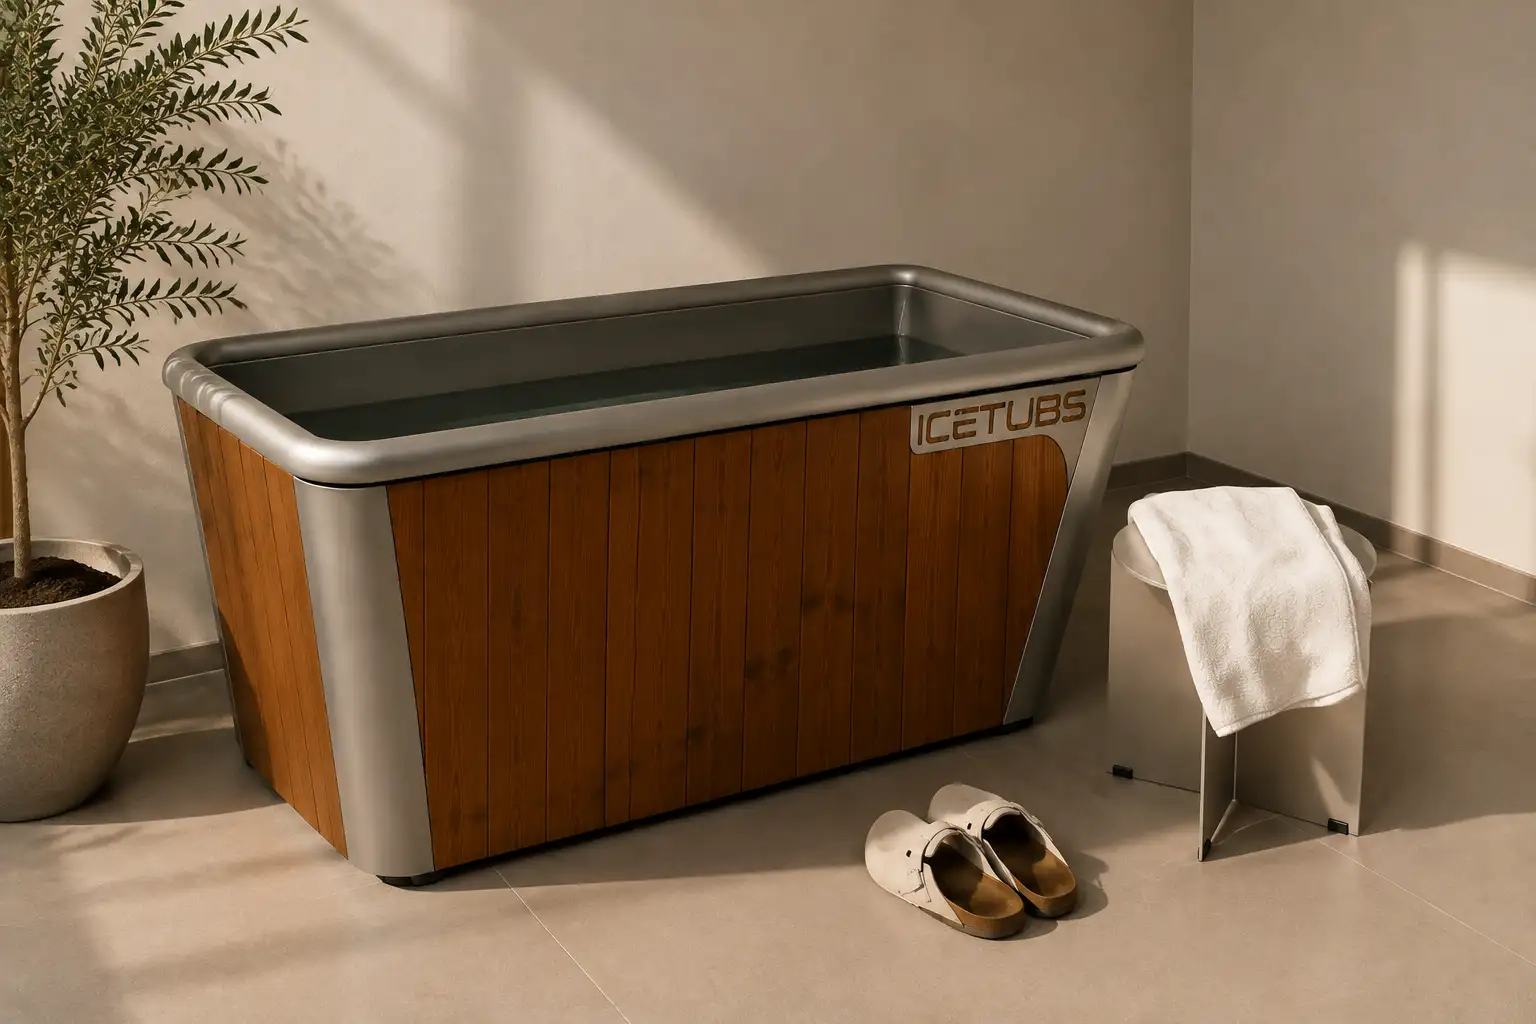
Adding a chiller can make a DIY cold plunge feel more serious.
Instead of buying ice for every session, you use a cooling system to bring the water down and keep it cold. That can make the routine easier to repeat, especially if you plunge often.
But adding a chiller also adds complexity.
Now the setup is not just a container and water. It may include a pump, tubing, filtration, fittings, power, drainage, cleaning, and space for airflow.
A chiller can help, but only if the whole system is planned properly.
Start with the Container
Before buying a chiller, look at your container.
How much water does it hold?
Is it insulated?
Does it have a drain?
Can tubing be connected cleanly?
Is there space around it for equipment?
A small container may cool faster but feel cramped. A large container may be more comfortable but require more cooling power.
The chiller should match the size and use of the tub.
Understand the Basic Flow
A typical DIY chiller setup moves water through a loop.
Water leaves the tub, passes through a pump, moves through the chiller, and returns colder to the tub. Some setups also add filtration in the loop to help reduce debris.
The goal is steady circulation.
If water does not move properly, cooling may be uneven. The chiller may also work harder than it should.
This is why pump flow, tubing size, and placement matter.
Add Filtration if Possible
Cold water still gets dirty.
Sweat, skin oils, hair, dust, leaves, and debris can enter the tub. If you add a chiller but ignore filtration, the water may still need frequent changing and cleaning.
A filter can help reduce visible debris and protect the system from buildup.
It does not remove all maintenance, but it can make the routine easier.
You will still need to check the water, clean the tub, and replace or rinse filter components based on your setup.
Place the Chiller Carefully
A chiller needs space to work.
Do not trap it in a tight box or push it against a wall without airflow. Heat needs to escape from the unit. If airflow is poor, cooling can become less efficient and the equipment may work harder.
Keep the chiller on a stable, dry surface.
Avoid placing it where water splashes, rain collects, or people may trip over tubing and cords.
A clean layout makes the setup safer and easier to maintain.
Respect Electrical Safety
This part matters.
A chiller uses electricity near water. Pumps may also require power. That means the setup needs proper protection and careful cable placement.
Keep plugs away from splash zones. Avoid loose extension cords. Do not run cables across wet walking paths. Use suitable outdoor-rated equipment if the setup is outside.
When in doubt, ask a qualified electrician.
Cold water should never come with electrical uncertainty.
Think About Maintenance
A chiller reduces ice runs, but it does not eliminate upkeep.
You still need to clean the tub, manage water quality, check connections, inspect tubing, and make sure the system runs properly.
A DIY chiller setup can be rewarding, but it is not maintenance-free.
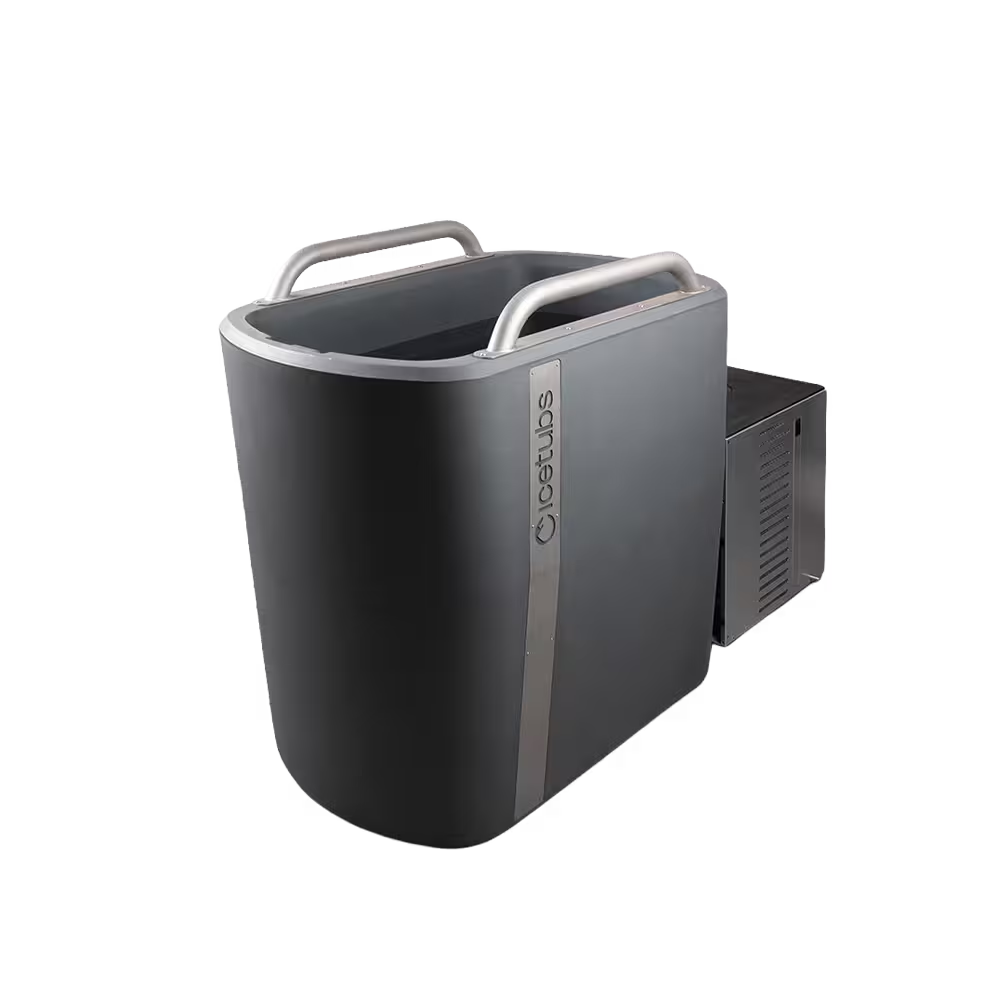
For some home setups, the question is not whether a chiller can work, but whether you want to manage pumps, tubing, fittings, and maintenance yourself. Icetubs is built for people who want the cold water ready without turning the routine into a technical project.
Decide Whether It Is Worth It
A chiller can be a smart upgrade if you plunge regularly.
It can save time, reduce ice costs, and make temperature more consistent. But it also adds cost, equipment, and setup responsibility.
Before adding one, ask yourself whether you enjoy the project or simply want the routine.
If the project excites you, build carefully. If you mainly want cold water ready when you are, a more complete system may be the better path.
To understand where a chiller fits in the full DIY process, visit How to Build a DIY Cold Plunge: Complete Guide.