





In this blogpost:
DIY Cold Plunge Under $100: What You Can Build Realistically
Build a DIY cold plunge under $100 with simple container ideas, ice planning, drainage, safety tips, water care, and realistic expectations for beginners.
A DIY cold plunge does not need to start with a big budget.
If you are new to cold exposure, a simple setup can be enough to test the habit. You can learn how cold water feels, how your body responds, and whether the routine fits your lifestyle before spending more.
But a low-cost build comes with trade-offs.
You may spend less upfront, but you will usually do more manual work. You will need to buy ice, check temperature, drain water, clean the container, and manage comfort on your own.
A budget setup can work well if you keep expectations realistic.
Start with the Cheapest Container
The easiest option is often something you already have.
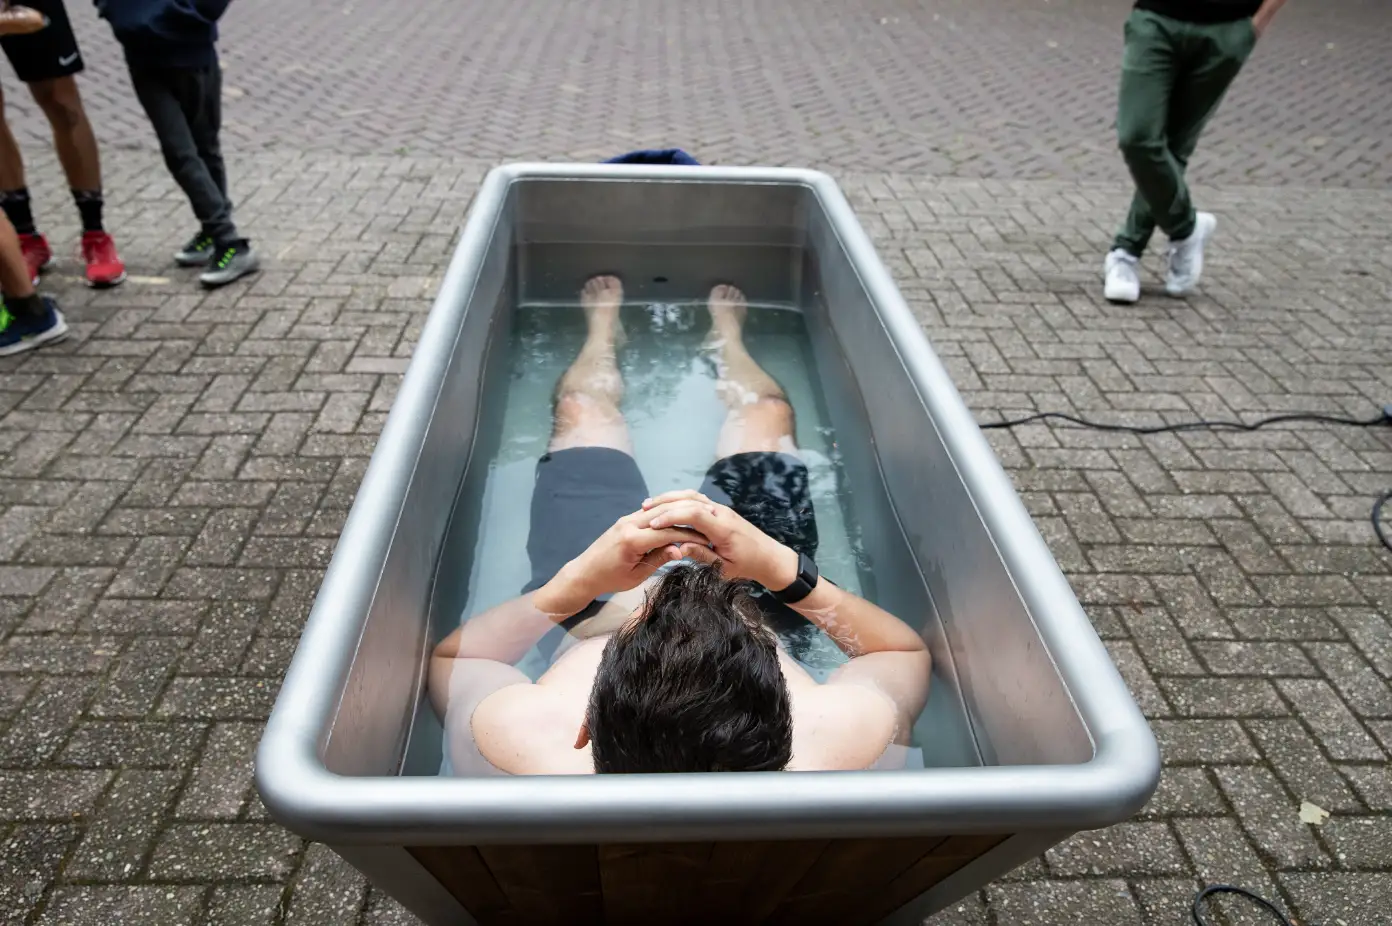
A bathtub can work for your first few sessions. If you do not have one, you can look at a heavy-duty storage bin, portable tub, large plastic container, or basic foldable ice bath.
The container should be strong enough to hold water and stable enough to sit in safely.
Avoid anything flimsy. A cheap container that bends, cracks, or shifts under weight is not a good cold plunge, even if it fits the budget.
Spend Money Where Safety Matters
Under $100, every purchase should have a purpose.
You may need:
• A container
• A thermometer
• Ice
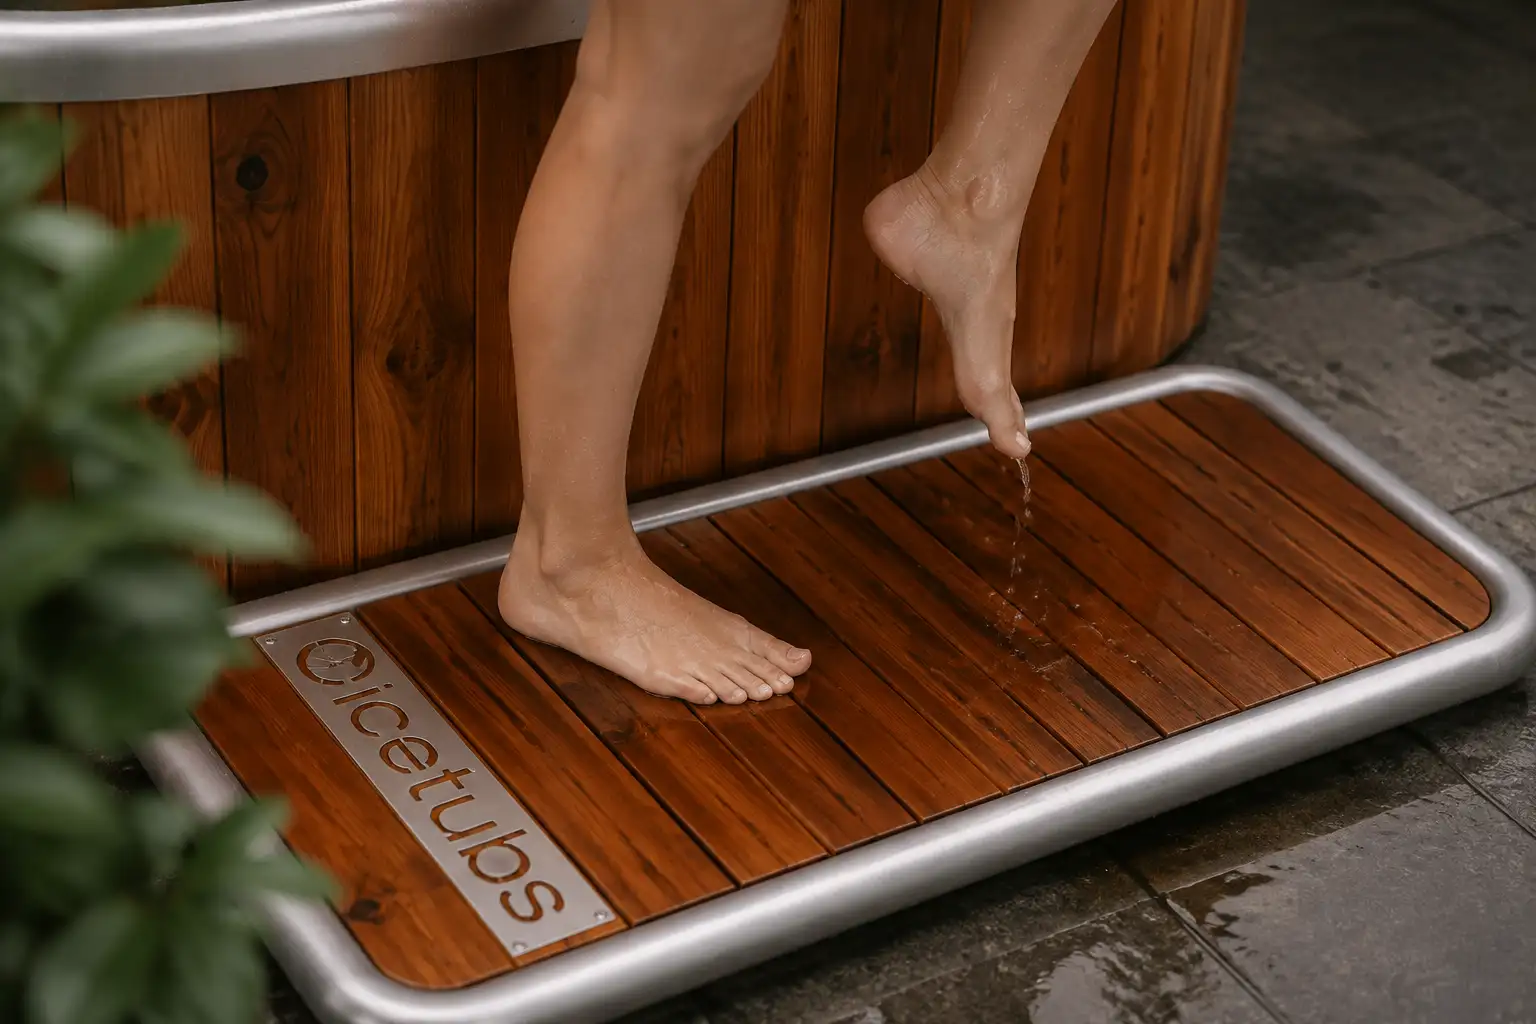
• A non-slip mat
• A cover or tarp
• A hose or bucket for draining
• Cleaning supplies
The thermometer is especially important. Without one, you are guessing the water temperature every time.
For beginners, guessing is not ideal. You want the water cold enough to feel challenging, but not so cold that your breath becomes hard to control.
Use Ice Carefully
Ice is usually the biggest recurring cost.
A budget setup may be cheap on day one, but repeated ice runs can add up quickly. You may also need time to chill the water before each session.
Start with less ice than you think.
Add gradually, stir the water, and measure the temperature. If the water feels too mild, you can add more. If it gets too cold, you may need to wait or dilute it with warmer water.
Cold exposure should be controlled, not random.
Keep the Setup Comfortable Enough
A very cheap setup can become uncomfortable fast.
If the container is too narrow, too shallow, or too awkward to enter, you may stop using it. If the floor gets slippery, the routine feels unsafe. If draining takes too long, maintenance becomes annoying.
Small upgrades can help.
A mat, towel station, simple cover, and easy drain plan can make the difference between a one-time experiment and a repeatable habit.
Keep Water Care Simple
Without filtration or circulation, the water will not stay fresh for long.
Rinse before entering. Cover the tub when not in use. Change the water often. Clean the container before residue builds up.
Do not try to stretch dirty water just to save money.
A budget cold plunge should still feel clean enough to use comfortably.
Know the Limits of a $100 Setup
A low-cost DIY build is great for testing.
It is not the same as a dedicated cold plunge system. You will not get automatic cooling, filtration, app control, or steady temperature. You will also spend more time preparing and maintaining the setup.
That is fine in the beginning.
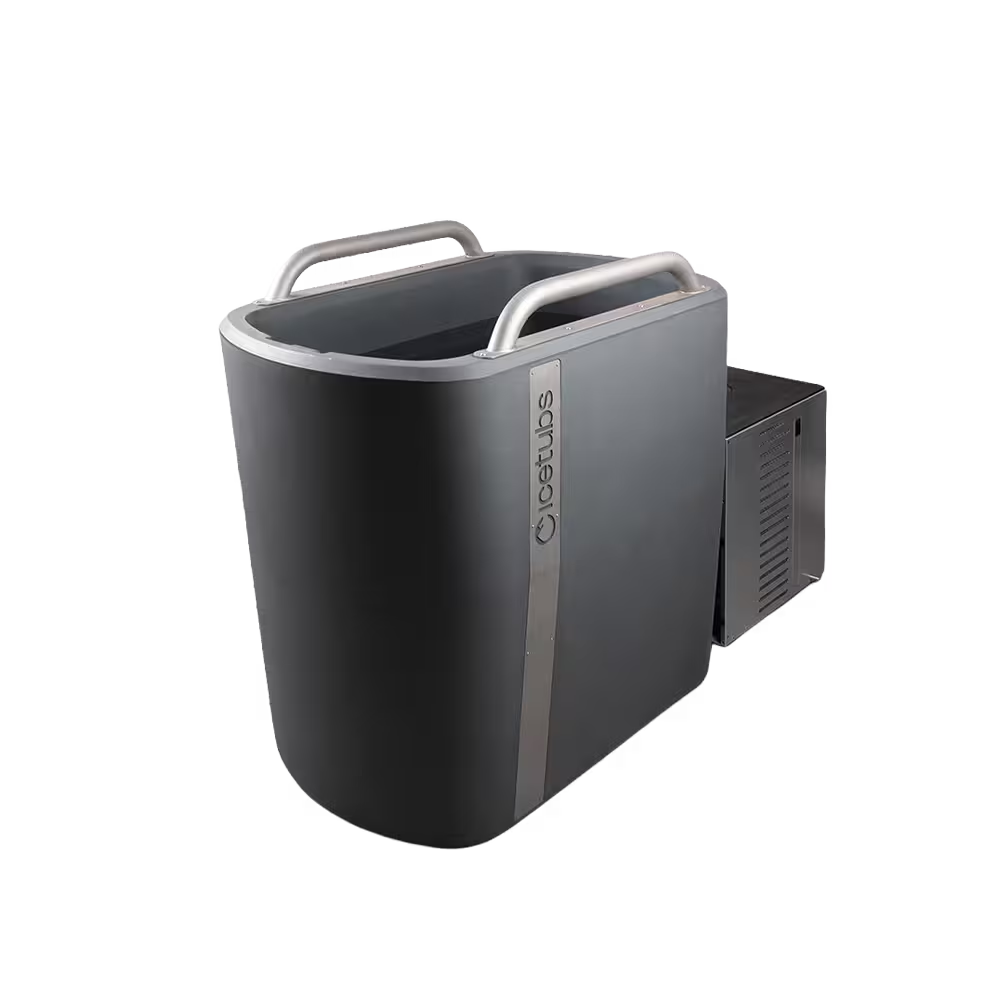
If cold plunging becomes part of your weekly routine, a dedicated Icetubs system may eventually make more sense because it removes repeated ice runs and makes temperature control easier.
Build Small, Learn First
The best under-$100 cold plunge is not the fanciest one.
It is the one that lets you start safely.
Choose a stable container. Use a thermometer. Add ice slowly. Keep the first sessions short. Clean the water. Warm up carefully afterwards.
A budget build should help you learn the practice, not force you into an unsafe shortcut.
To see how this budget option compares with other DIY builds, read How to Build a DIY Cold Plunge: Complete Guide.