





In this blogpost:
Common DIY Cold Plunge Mistakes to Avoid Before You Build
Avoid common DIY cold plunge mistakes with practical tips on containers, ice use, drainage, cleaning, insulation, safety, comfort, and routine planning.

A DIY cold plunge can be simple, affordable, and useful.
It can help you try cold exposure without a major investment. It can teach you what temperature feels right, how your body responds, and whether the habit fits your routine.
But DIY setups can also go wrong quickly.
Not because cold plunging is complicated, but because small details matter. A weak container, poor drainage, dirty water, slippery flooring, or careless electrical setup can turn a simple idea into a frustrating one.
Here are the mistakes to avoid before you build.
Choosing the Wrong Container
The container needs to do more than hold water.
It should be stable when full, comfortable enough to sit in, easy to enter, and practical to drain. A thin storage bin may look fine when empty, but water is heavy. Once filled, it may bend, crack, or shift.
Do not choose only by price.
Choose by strength, shape, safety, and repeat use.
If the container feels awkward before you add cold water, it will feel worse once your body is reacting to the cold.
Guessing the Temperature
Cold water can be deceptive.
You may think the water is “cold enough” or “not too cold,” but guessing is not a good habit. Too much ice can make the session harder to control, especially for beginners.
Use a thermometer.
Add ice gradually. Stir the water. Check before entering. You should know what your body is stepping into.
The goal is controlled exposure, not surprise.
Ignoring Drainage
Drainage is one of the most common DIY regrets.
A tub is easy to fill. Emptying it can be the problem.
Before the first session, decide where the water will go. Make sure it will not create slippery flooring, mud, standing water, or damage near foundations and electrical points.
If draining is annoying, you will delay it.
Once you delay it, cleaning becomes harder.
Letting Water Get Dirty
Cold water still needs care.
Sweat, skin oils, dust, leaves, insects, and residue can build up. Without filtration or circulation, water may need changing more often than you expect.
Cover the tub when not in use. Rinse before entering. Refresh the water regularly. Clean the inside walls before buildup becomes stubborn.
If the water looks cloudy or smells unpleasant, change it.
A cold plunge should feel clean enough to return to.
Making Entry and Exit Unsafe
Wet surfaces change everything.
You may feel steady before entering, then slightly less coordinated after sitting in cold water. That makes exit safety important.
Use a non-slip mat. Keep a towel nearby. Make sure the tub does not wobble. Avoid placing the setup where you have to step onto slick tile, mud, or uneven ground.
The safest cold plunge is easy to leave.
Treating Electricity Casually
This mistake is serious.
Chest freezer conversions, chillers, pumps, timers, and extension cords all add electrical concerns. Water and electricity should never be improvised.
Keep plugs and cords away from wet areas. Use proper protection. Avoid damaged equipment. Ask a qualified electrician when needed.
Saving money is not worth creating electrical risk.
Overbuilding Too Soon
Some people start with the most complicated setup before they know whether they like cold plunging.
They buy equipment, add a chiller, modify a freezer, build insulation, and create a project that becomes harder than the habit itself.
Start simple first.
Learn your routine. Understand your tolerance. Notice how often you actually plunge. Then decide whether to upgrade.
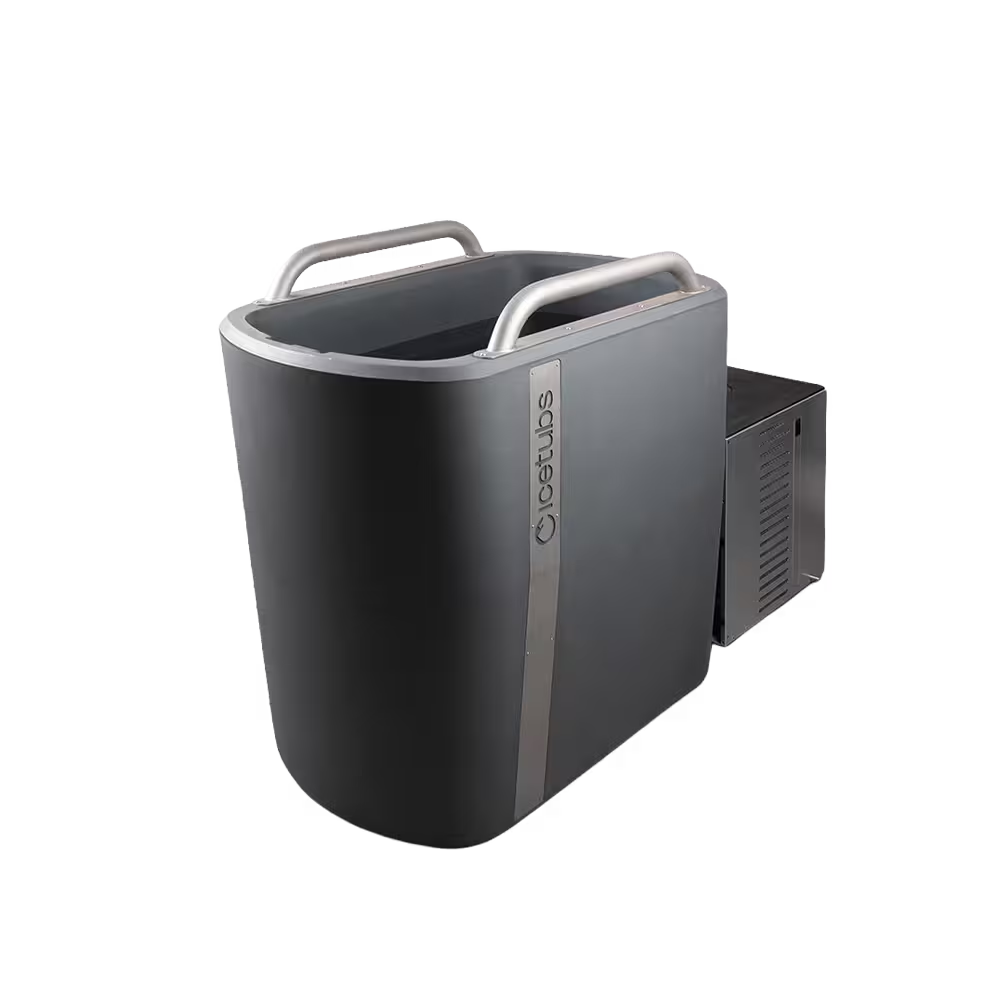
If the DIY work starts taking more energy than the practice itself, Icetubs can offer a cleaner path into regular cold plunging without turning every session into setup and maintenance.
Build for Repeatability
The best DIY cold plunge is not the most complicated one.
It is the one you can use safely, clean easily, drain properly, and return to without too much friction.
Avoid weak containers. Measure the cold. Plan drainage. Keep water clean. Respect electricity. Do not overbuild before you understand your habit.
For the full DIY setup framework, use How to Build a DIY Cold Plunge: Complete Guide as your main reference.