






In this blogpost:
Cold Plunge Flooring and Drainage Tips for a Safer Setup
Plan safer cold plunge flooring and drainage with tips for non-slip surfaces, water flow, indoor setup, outdoor placement, and easier maintenance.

Water changes the way a space behaves.
A floor that feels safe when dry may become slippery after a cold plunge. A corner that looks clean may become difficult to manage when water needs to drain. A beautiful setup may become frustrating if splashes, puddles, and wet towels are not considered from the beginning.
That is why flooring and drainage matter.
They are not just technical details. They shape how safe, clean, and repeatable the ritual feels.
Start with a Stable Surface
A cold plunge tub needs a flat and stable base.
Once filled with water, the tub becomes heavy. The floor or platform should be strong enough to support the tub, the water, and the person using it.
This matters indoors, outdoors, and especially on raised surfaces like decks, balconies, or upper floors. If you are unsure about weight capacity, check with a professional before placing the tub.
Stability comes before style.
A beautiful surface is not useful if it shifts, flexes, or becomes unsafe when wet.
Choose Non-Slip Flooring
The area around the tub will get wet.
That is part of the routine. Water may splash during entry, drip when you step out, or collect near towels and accessories.
Non-slip flooring helps reduce risk.
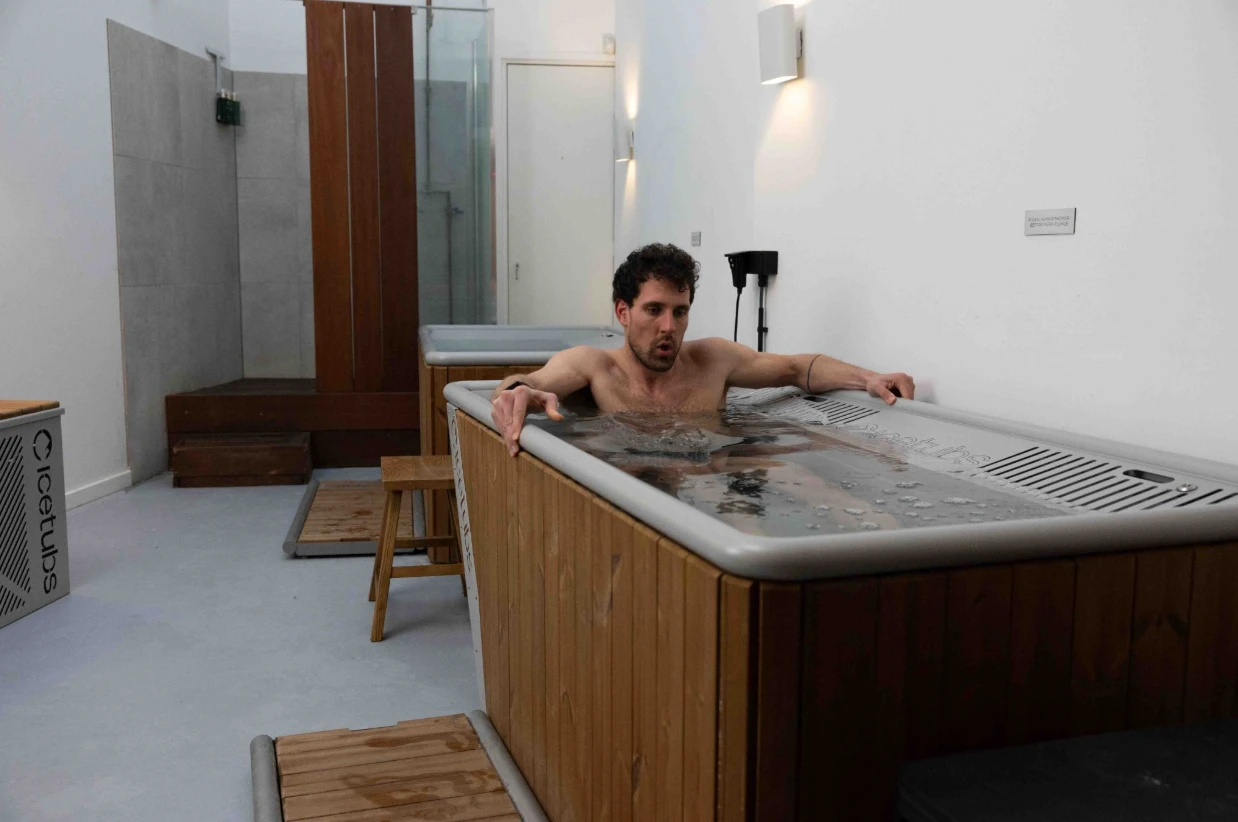
Indoors, this may mean textured tile, rubber matting, or a water-resistant surface designed for wet areas. Outdoors, it may mean anti-slip decking, stone with grip, or a dedicated mat near the entry point.
The goal is simple: step in and out with confidence.
Plan Where the Water Goes
Drainage should be planned before the tub is filled.
At some point, the water will need to be changed, refreshed, or drained for cleaning. If there is no clear route, maintenance becomes messy.
Indoor setups may need a nearby drain, shower area, utility space, or hose route. Outdoor setups should direct water away from walls, foundations, electrical outlets, and surfaces that can become slippery.
Good drainage makes the tub easier to live with.
Keep Electrical Areas Dry
Flooring and drainage also protect the power setup.
If the tub uses an electric cooling system, water should not collect near cables, sockets, or the cooling unit. Keep the electrical area raised, dry, and away from drainage paths.
Some Icetubs systems are designed for indoor and outdoor use, but the setup still needs safe cable placement and a dry, stable area around electrical components.
When water and power are close, small layout choices matter.
Think About Entry and Exit
Most slips happen when people move.
After a cold plunge, the body may feel alert, cold, or slightly less coordinated. The first few steps out of the tub should be simple and supported.
Leave enough space around the entry point. Keep towels and warm clothes nearby. Avoid clutter, loose cables, and objects that can catch the foot.
If the tub is high or deep, steps and hand support may also help.
The safer the exit feels, the calmer the session ends.
Make Cleaning Easy
A cold plunge area should be easy to clean.
Choose surfaces that can handle water, mild cleaning products, and regular wiping. Avoid materials that absorb moisture, stain easily, or become damaged after repeated splashes.
Outdoor setups may need extra attention because of leaves, dirt, and weather. Indoor setups may need better ventilation so the area does not stay damp.
A space that is easy to clean is easier to keep inviting.
Let the Floor Support the Practice
The floor is part of the ritual, even if you do not notice it.
It supports the tub. It handles the water. It gives your feet a safe place to land after the cold.
Plan it well, and the whole setup feels smoother.
For a complete cold plunge installation checklist, continue with Cold Plunge Tub Setup & Installation: Complete Guide.